Perspective Project
Project Description
In this project, you will dive into the world of two-point perspective drawing using pencils. Two-point perspective is a fundamental technique in art that allows you to create the illusion of depth and three-dimensionality in your drawings. By understanding the principles of converging lines and vanishing points, you'll create a dynamic and visually engaging artwork.
Objectives:
Materials:
Instructions:
Introduction to Two-Point Perspective:
Begin the project by introducing the concept of two-point perspective. Explain how it works, emphasizing the idea of vanishing points and how parallel lines appear to converge as they move away from the viewer.
Select a Scene:
Choose a simple architectural scene or a cityscape as the subject of your drawing. This could be a row of buildings, a street, a room interior, or any scene with clear lines and angles.
Setting Up the Horizon Line and Vanishing Points:
On your paper, draw a horizontal line across the middle—this is your horizon line. Decide where to place your two vanishing points on the horizon line. These points will determine the direction and angle of the converging lines.
Creating the Basic Structure:
Using light lines, start drawing the basic structures of your scene. Connect the edges of buildings or objects to the vanishing points with converging lines. These lines will guide the placement of elements in the scene.
Adding Detail and Depth:
Begin adding more details to your drawing. Use different pencil grades to create variations in line weight and shading. Darken the lines that represent the edges of objects, and use lighter shading for areas that are farther away.
Rendering and Shading:
Use shading techniques such as hatching, cross-hatching, and stippling to add texture and depth to your drawing. Pay attention to how light and shadow fall on the surfaces of the objects in your scene.
Refining Your Drawing:
Continuously refine your drawing by adjusting proportions, refining details, and adding finer textures. Pay close attention to the perspective lines and the overall sense of depth.
Final Touches:
Make sure your lines are clean and well-defined. Erase any unnecessary guidelines. Add final touches like highlights and additional shading to enhance the realism and depth of your drawing.
Presentation:
Once your drawing is complete, mount it on a clean sheet of paper or present it in your sketchbook. Consider writing a brief reflection on what you learned during the process and the challenges you faced.
Assessment Criteria:
Remember, the goal of this project is to develop your understanding of two-point perspective and your ability to translate that knowledge into a well-executed drawing. Feel free to adapt and modify the project based on your skill level and interests.
Learning Objectives
Rubric
Rubric:
Rubrics have become popular with teachers as a means of communicating expectations for an assignment, providing focused feedback on works in progress, and grading final products. A rubric is a document that articulates the expectations for an assignment by listing the criteria, or what counts, and describing levels of quality from excellent to poor.
The rubric for the perspective project can be viewed, downloaded and printed below. Enjoy
Element of Art
Space:
An element of art by which positive and negative areas are defined or a sense of depth achieved in a work of art.
Space:
An element of art by which positive and negative areas are defined or a sense of depth achieved in a work of art.
Artist: Filippo Brunelleschi
Filippo Brunelleschi was an Italian designer and a key figure in architecture, recognized to be the first modern engineer, planner and sole construction supervisor. He was one of the founding fathers of the Renaissance. He is generally well known for developing a technique for linear perspective in art and for building the dome of the Florence Cathedral.
8th Grade Perspective Handout
The handout below will help students get started on understanding key concepts for this specific project. You can look, download and print it below. Enjoy!
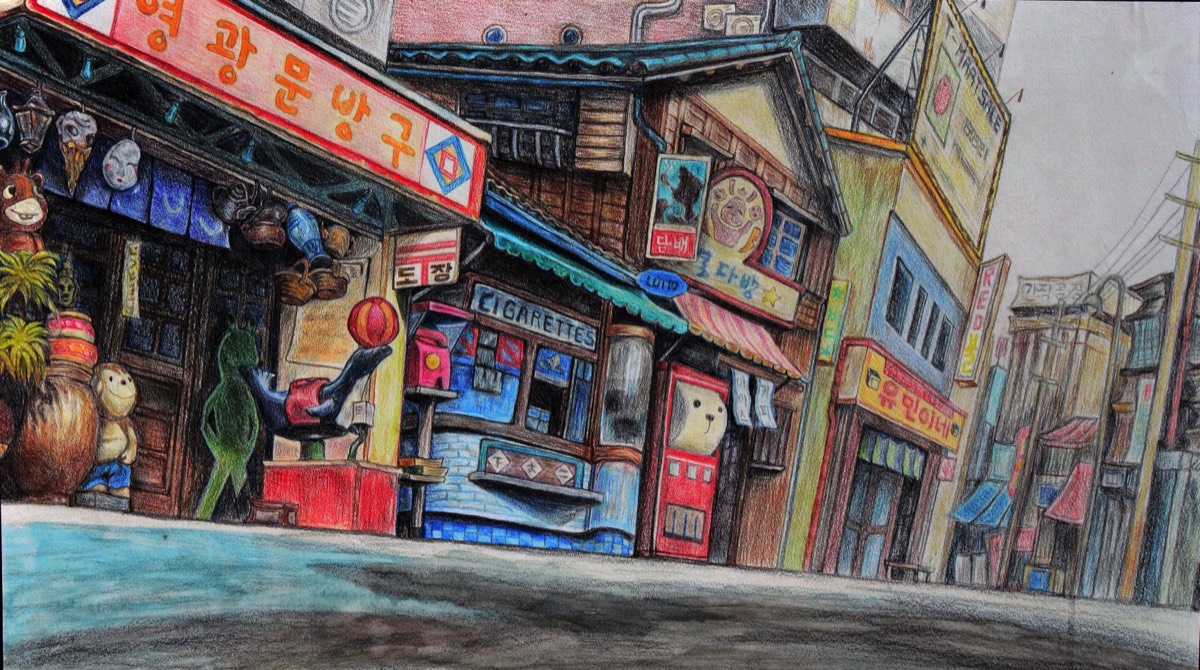
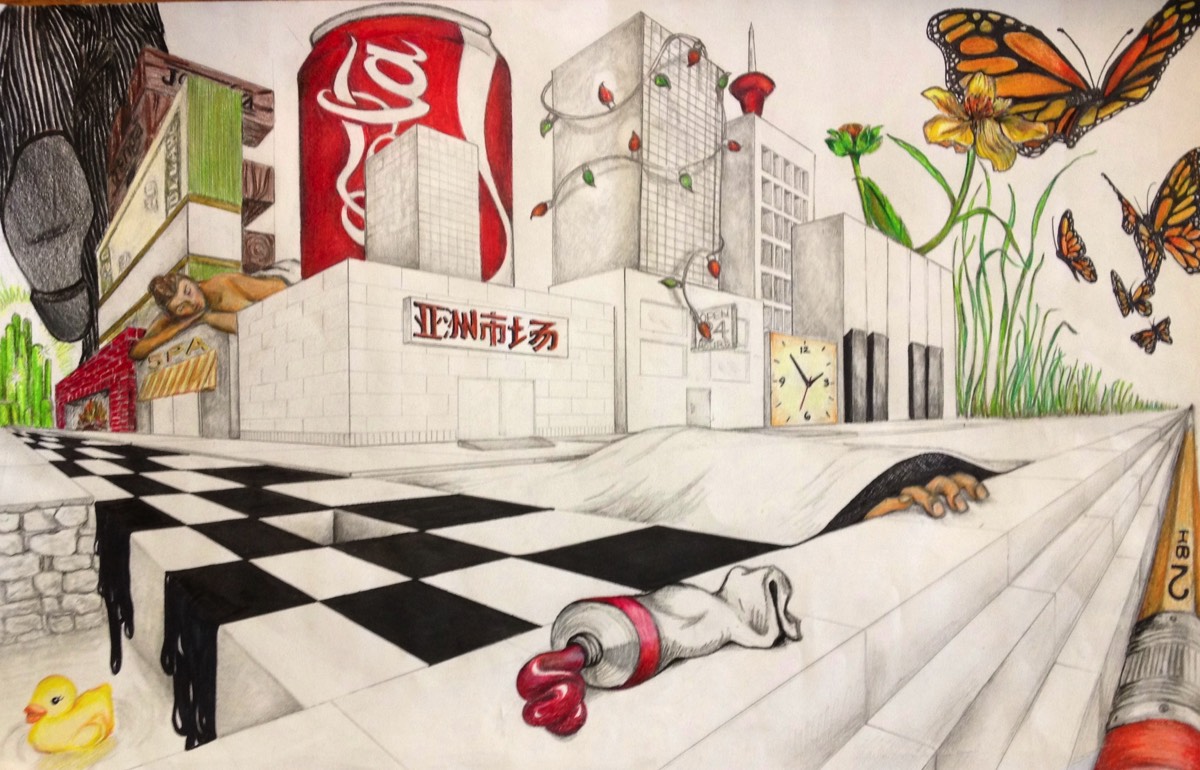
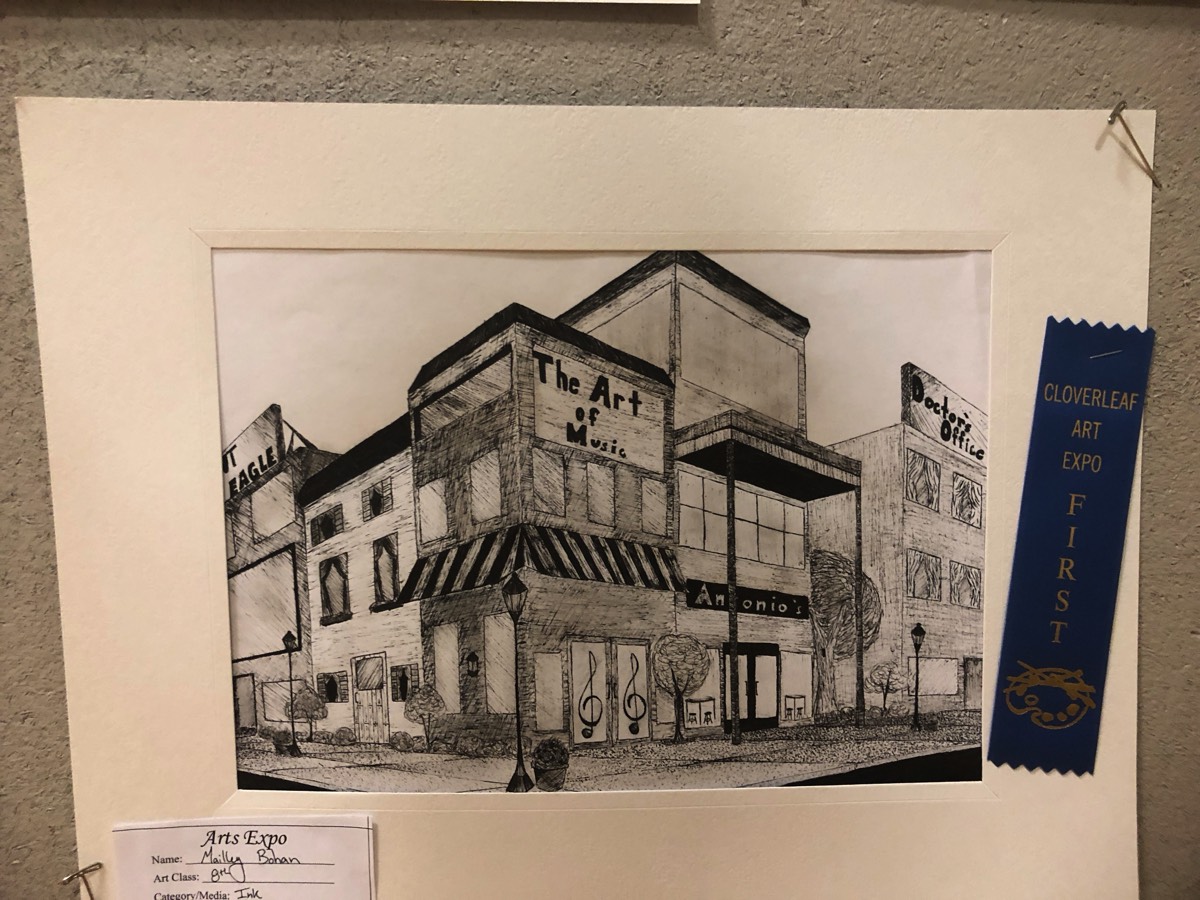
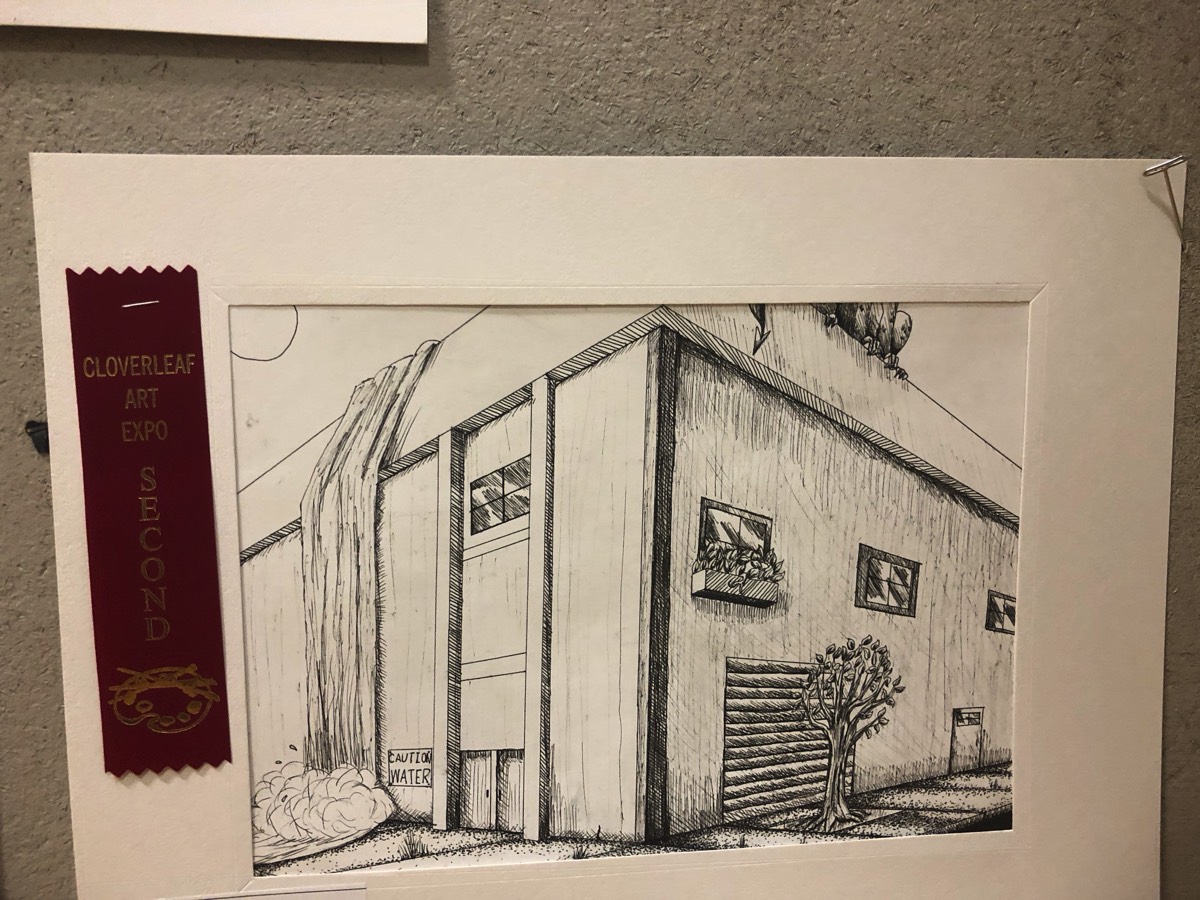
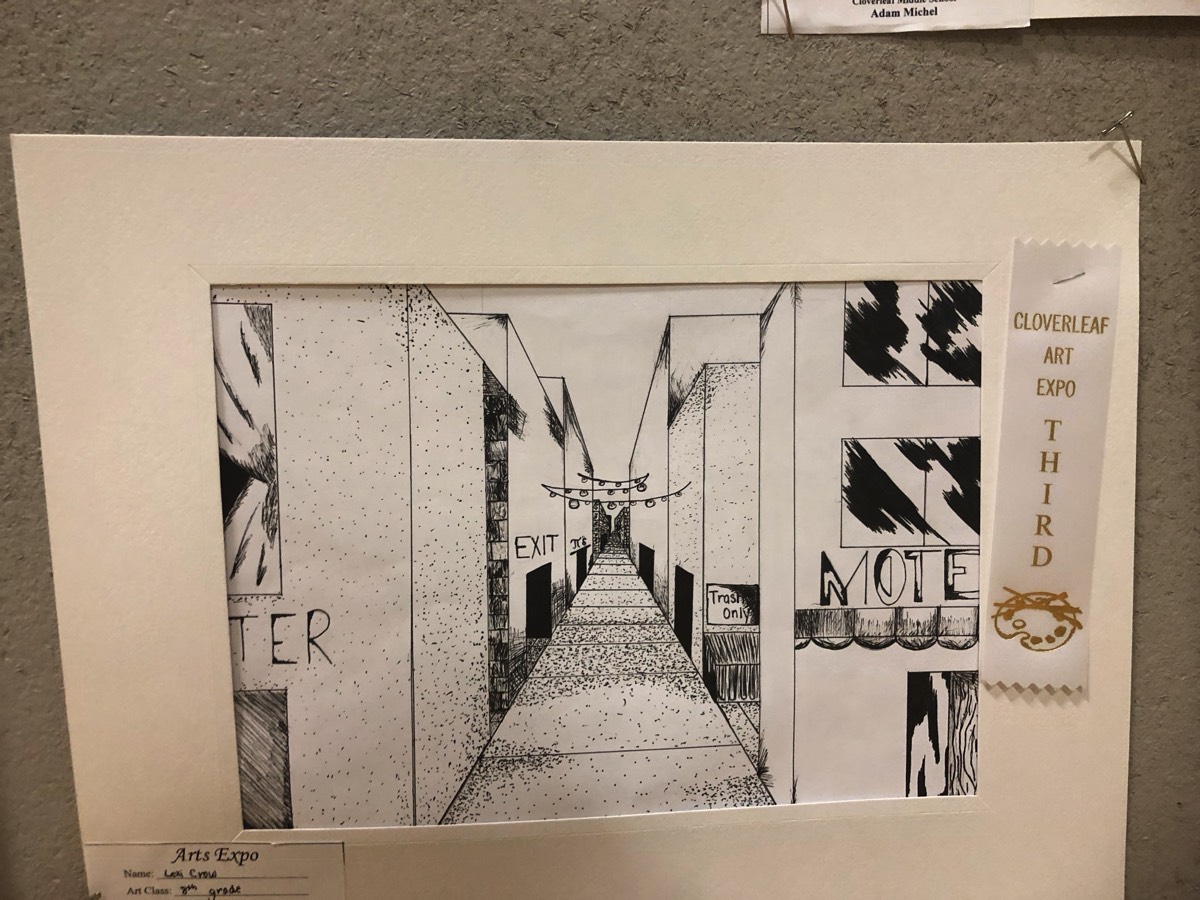
Project Example
Project Demonstration
Project Demonstration
Assessment
You're Ready to Start Your Project.
Project Submission
Perspective Comments
- 1
- 2
- 3
- 4
- 5
- 6
- 7
- 8