Ceramic Tile Project
Project Description
The Ceramic Tile Project is an exciting and hands-on assignment that allows students to explore the versatile medium of ceramics. In this project, students will have the opportunity to design and create a ceramic tile that showcases their artistic skills and creativity. Whether you're an experienced ceramic artist or a beginner, this project offers a chance to experiment, learn, and express your unique vision.
Project Objectives:
The primary objectives of the Ceramic Tile Project are as follows:
Exploration of Ceramic Techniques: Learn and practice fundamental ceramic techniques, such as slab building, coil construction, and surface decoration. Artistic Expression: Encourage students to express their creativity and unique artistic voices through the design and decoration of their ceramic tiles. Problem Solving: Develop problem-solving skills by addressing challenges related to clay handling, construction, and glazing. Craftsmanship: Focus on attention to detail and craftsmanship to create high-quality ceramic tiles. Presentation: Present the finished ceramic tiles with confidence and articulate the artistic choices made during the creative process.
Materials Needed:
Clay (earthenware, stoneware, or porcelain, depending on the project goals) Clay tools (rollers, cutting tools, sculpting tools, etc.) Kiln for firing Glazes and brushes Kiln firing supplies (kiln shelves, posts, etc.) Aprons and clay-friendly workspace Reference materials or sketches (optional)
Project Steps:
Design and Planning: Begin by brainstorming ideas for your ceramic tile. Consider the size, shape, and purpose of your tile. Will it be decorative, functional, or part of a larger installation? Sketch out your design ideas and make notes about the techniques and colors you plan to use. Clay Preparation: Select the type of clay that suits your project goals and preferences. Prepare the clay by wedging it to remove air bubbles and ensure uniform consistency. Roll out a slab of clay or use coils to construct the base of your tile. Experiment with texture and shape. Design Execution: Use your sketches and plans to guide you as you create your ceramic tile. Add decorative elements, relief sculpture, or any other design elements using appropriate ceramic techniques. Pay attention to the surface, ensuring it's smooth and free of cracks or imperfections. Drying and Bisque Firing: Allow your ceramic tile to dry slowly and evenly to prevent cracking. Once completely dry, it's time for the first firing, known as the bisque firing. This initial firing hardens the clay and prepares it for glazing. Glazing: Choose glazes that complement your design and the type of clay you've used. Apply glazes carefully to achieve the desired effect. Consider experimenting with multiple glaze layers or techniques like underglaze painting. Ensure the back of the tile remains unglazed to prevent sticking to kiln shelves. Final Firing: After glazing, the ceramic tile will undergo a final firing in the kiln. The temperature and firing schedule will depend on the type of clay and glazes used. The kiln firing will bring out the colors and textures of the glazes, resulting in a finished ceramic tile. Presentation: Once the tile has cooled and is ready, present it with care. Clean the edges and any glaze drips, if necessary. Be prepared to explain your artistic choices, the techniques used, and the inspiration behind your tile. Reflection and Critique: Participate in a class critique where you and your peers discuss and provide feedback on each other's ceramic tiles. Reflect on your own work and consider how you might apply what you've learned to future projects.
Project Objectives:
The primary objectives of the Ceramic Tile Project are as follows:
Materials Needed:
Project Steps:
Learning Objectives
Technical Proficiency:
Understanding Clay Properties:
Design and Composition:
Creativity and Expression:
Problem-Solving Skills:
Craftsmanship:
Surface Decoration and Glazing:
Kiln Firing Knowledge:
Presentation Skills:
Art Critique and Reflection:
Cultural and Historical Context:
Safety and Studio Etiquette:
Rubric
Rubric:
Rubrics have become popular with teachers as a means of communicating expectations for an assignment, providing focused feedback on works in progress, and grading final products. A rubric is a document that articulates the expectations for an assignment by listing the criteria, or what counts, and describing levels of quality from excellent to poor.
The rubric for the ceramic tile project can be viewed, downloaded and printed below. Enjoy
Element of Art
Shape:
An element of art that is two-dimensional, flat, or limited to height and width.
Artist : Lorenzo Ghiberti
Lorenzo Ghiberti was commissioned, in 1425, to design a second pair of bronze doors for Florence’s Baptistery. He labored on the task for 27 years, fashioning a masterpiece that Michelangelo called “truly worthy to be the Gates of Paradise” for its remarkable beauty and grandeur. The panels offer viewers a coherent vision of Ghiberti’s artistic genius and his innovative use of perspective. Originally the Gates of Paradise were to have 28 figural panels, as in the earlier sets of Baptistery doors, but this plan was scaled down to 10 panels, a decision probably influenced by Ghiberti’s aesthetic judgment.
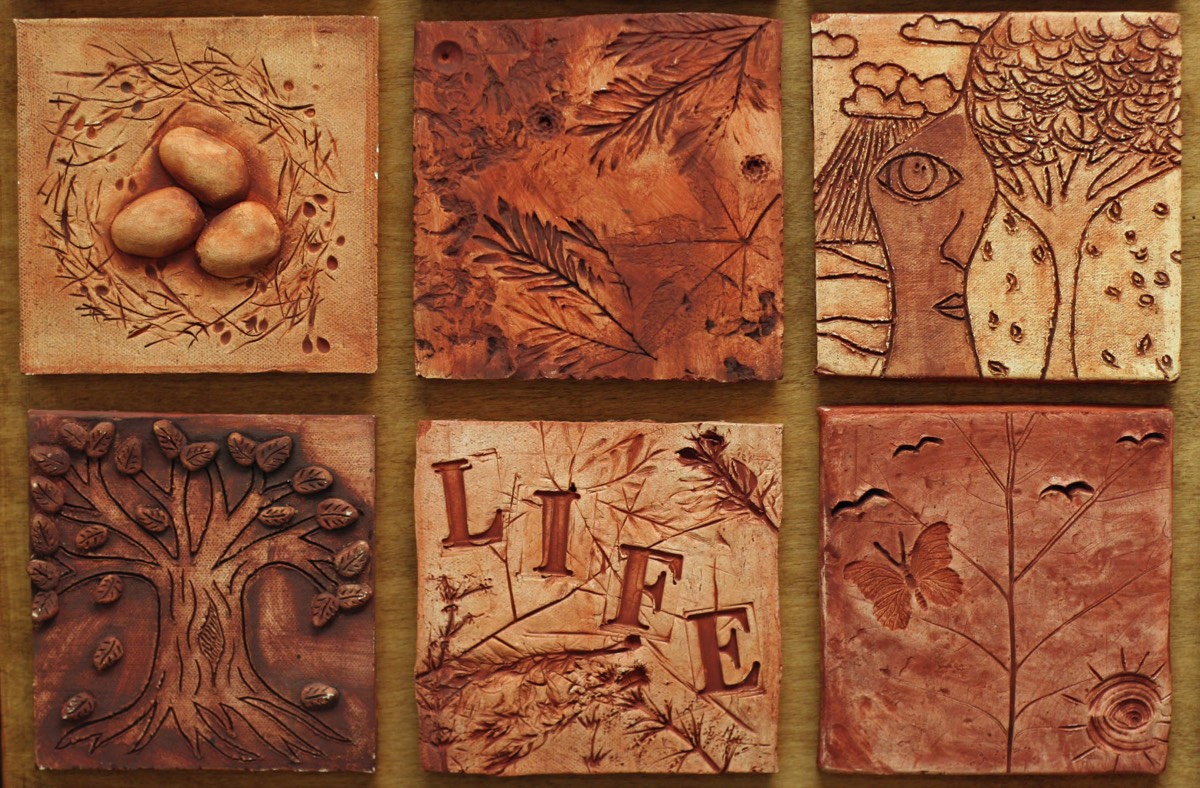
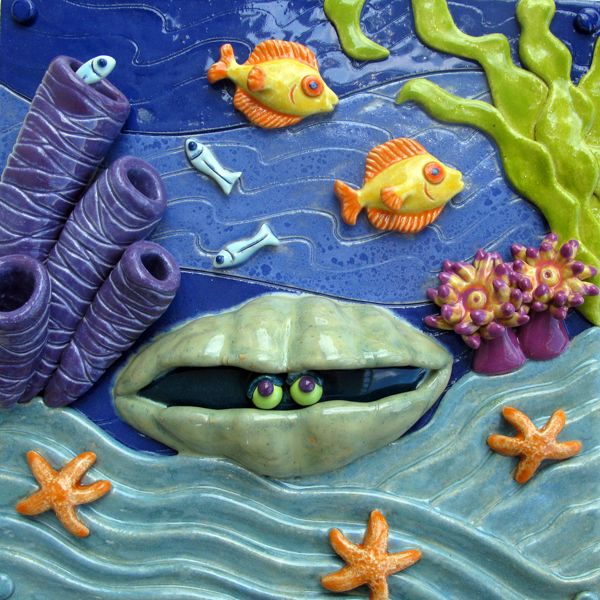
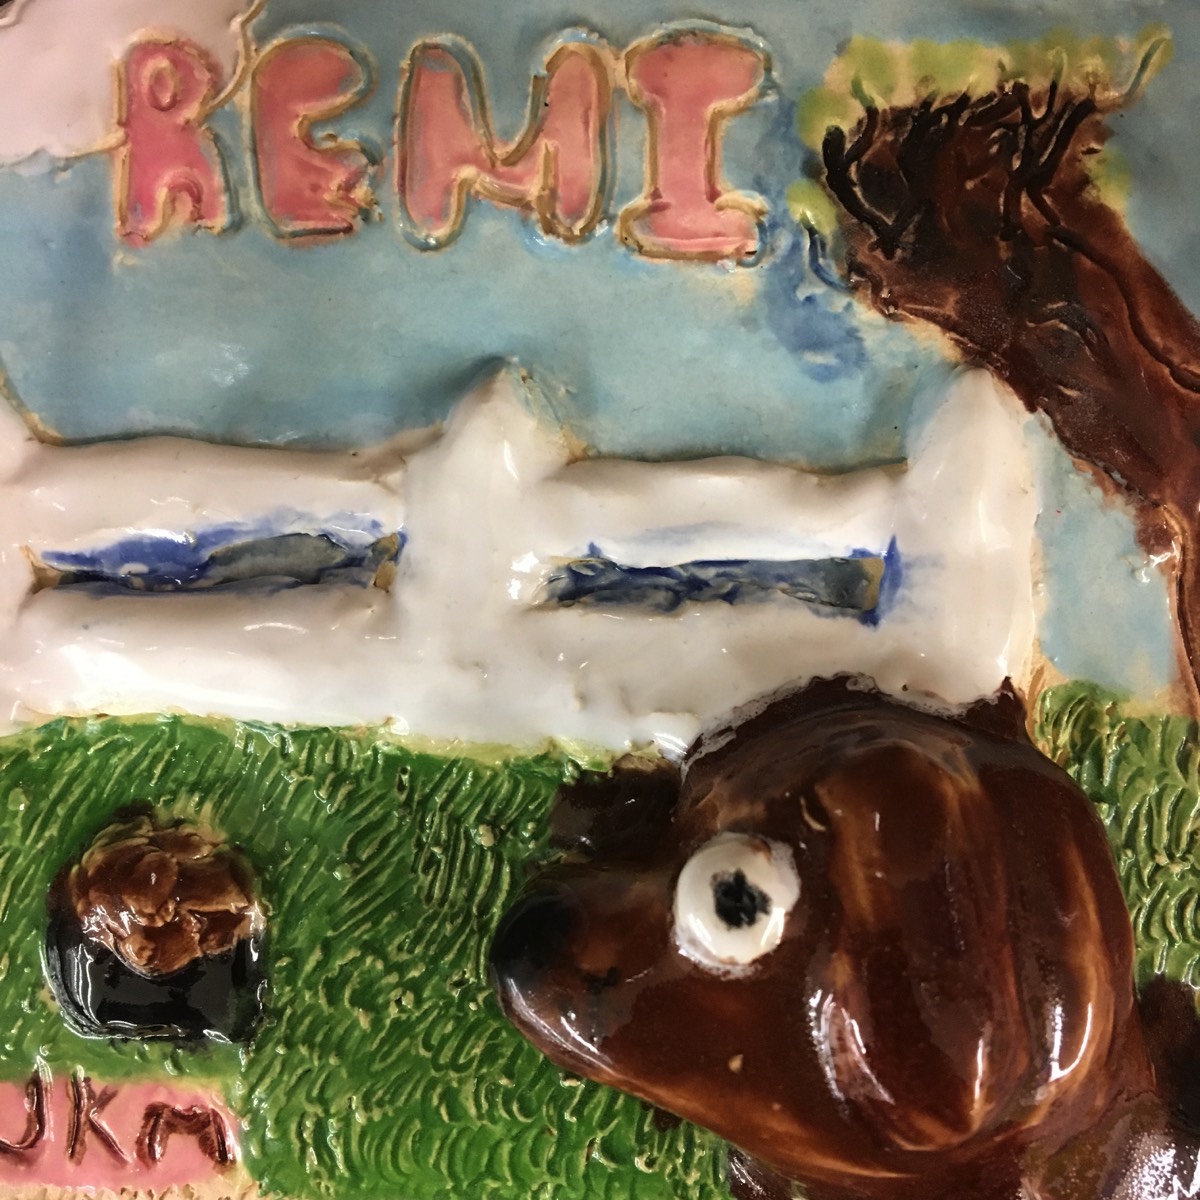
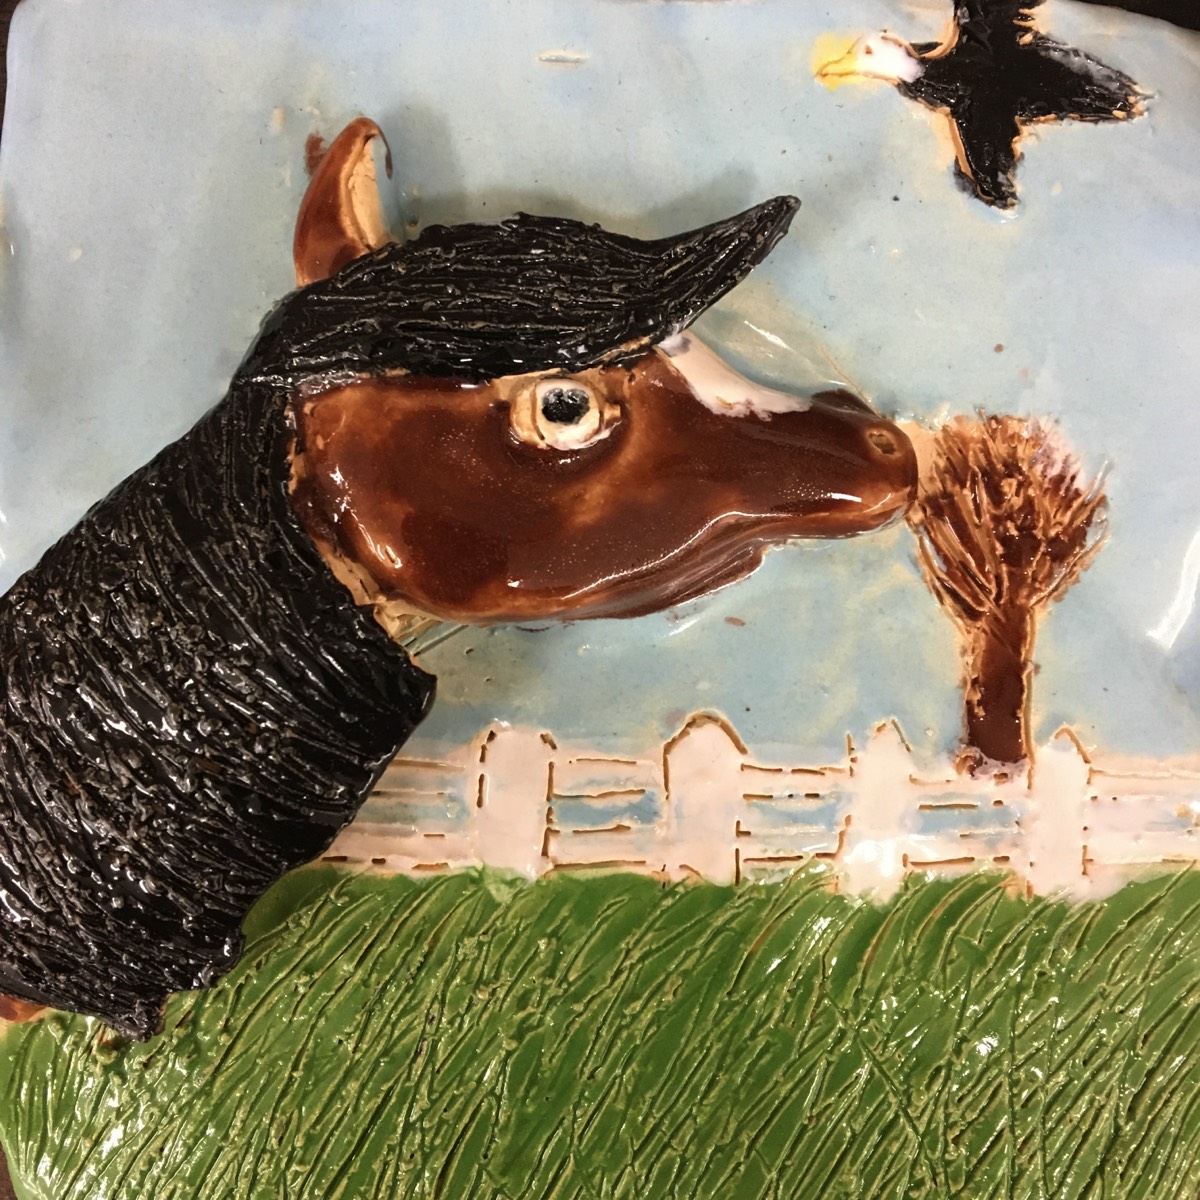
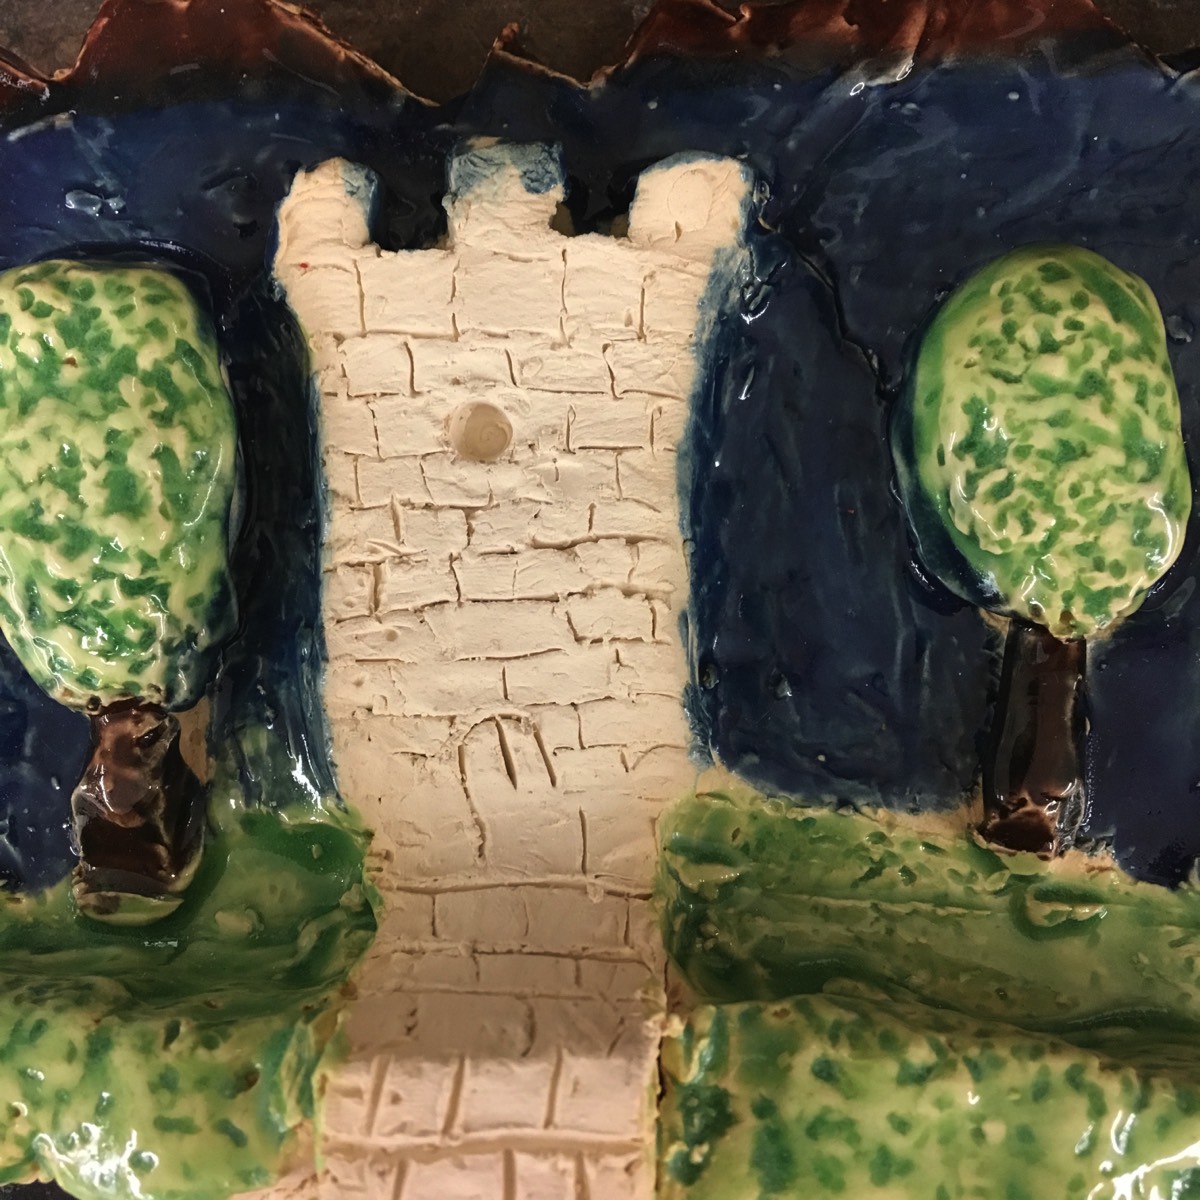
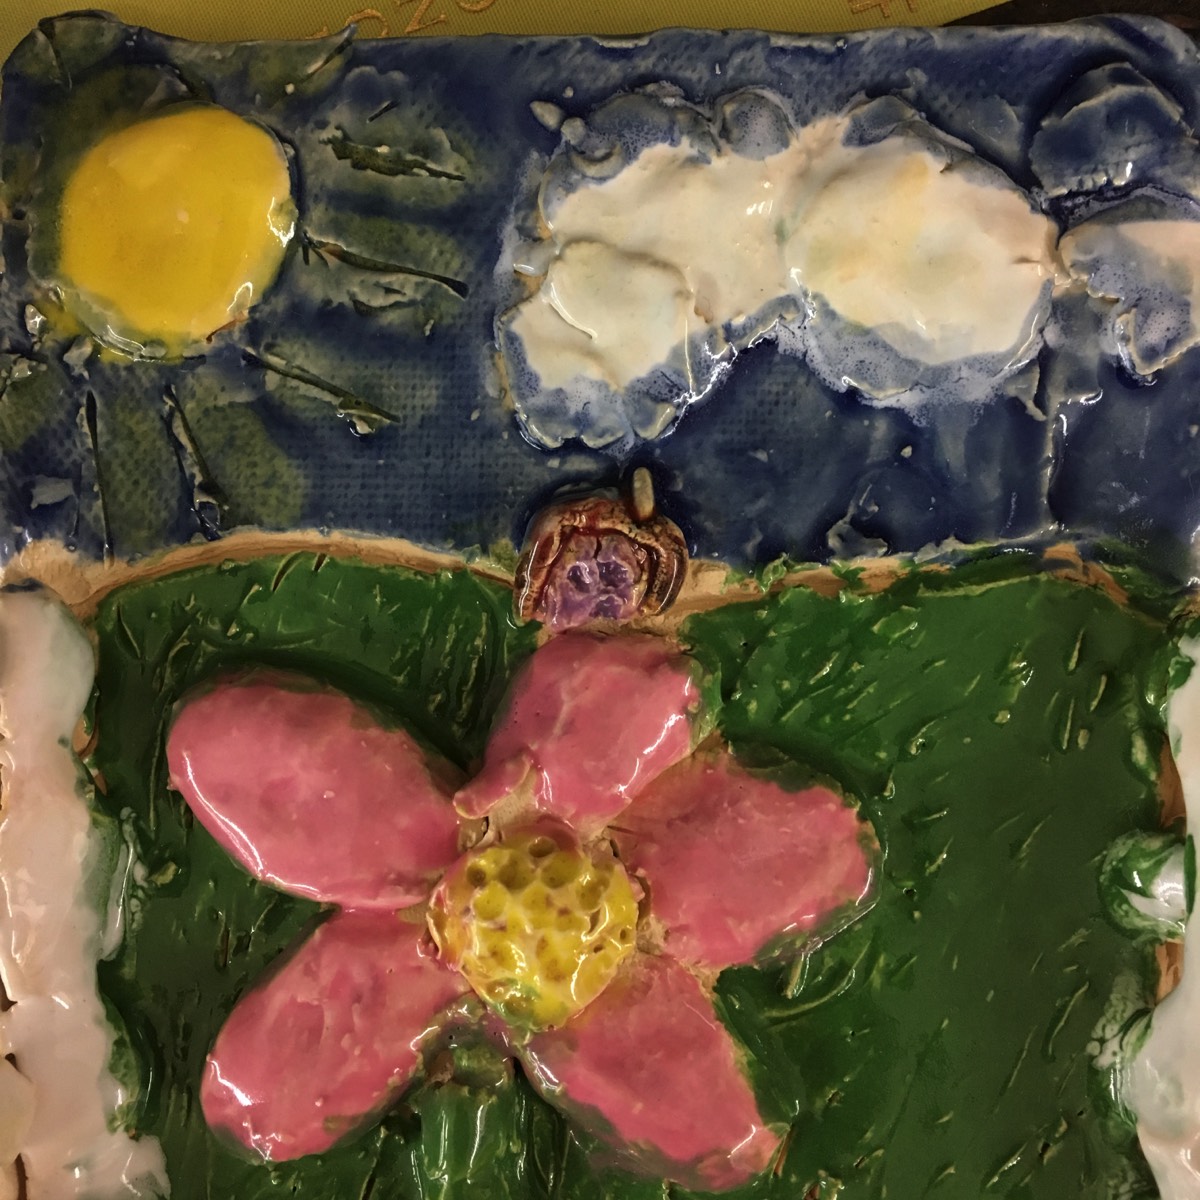
Project Example
Project Demonstration
Clay Construction
Project Demonstration Painting
Student Work
You're Ready to Start Your Project.
Project Submission
Ceramic Tile Comments