Scratch Art Project
Project Description
Project Goals:
Explore Scratch Art Techniques: Gain proficiency in various scratch art techniques, including stippling, hatching, cross-hatching, and contour scratching.
Imagination and Creativity: Develop your ability to envision and execute a visually compelling and imaginative artwork by selectively scratching away the dark surface to reveal a colorful layer beneath.
Texture and Depth: Experiment with creating depth, texture, and contrast in your scratch art piece to make it visually captivating.
Attention to Detail: Practice precision and patience in your scratch work, paying attention to fine details that bring your artwork to life.
Project Steps:
Gather Materials: Acquire the necessary materials, including scratch art paper or boards and scratch tools. Scratch art paper comes in various forms, such as black-coated boards or paper with a colored layer underneath.
Choose a Subject: Select a subject for your scratch art drawing. It could be a landscape, portrait, abstract design, or anything that inspires you. Ensure your subject works well with the contrast of dark and colorful elements.
Sketch the Design: Create a preliminary sketch of your design on the scratch art surface using a soft pencil or a light sketching tool. Keep in mind that your sketch will be scratched away, so keep it minimal.
Scratch the Dark Surface: Begin the process of selectively scratching away the dark surface using your scratch tools. Experiment with different techniques to achieve various textures and effects.
Add Depth and Details: As you work, focus on adding depth and intricate details to your artwork. Consider where the light source is coming from and emphasize shadows and highlights accordingly.
Experiment with Color: If you're using scratch art paper with colored layers underneath, explore how different colors can be revealed to create a visually dynamic composition.
Refine and Revise: Continuously refine your scratch art piece, making adjustments as needed to achieve the desired result. Take your time to perfect the details.
Final Touches: Once you are satisfied with your scratch art drawing, carefully clean away any remaining debris or pencil marks, ensuring a clean and polished appearance.
Throughout this project, embrace the tactile nature of scratch art and allow your creativity to flow as you reveal the hidden beauty beneath the surface. Encourage exploration and experimentation with different scratch tools and techniques to create a captivating and unique scratch art drawing that showcases your artistic vision.
Materials:
Scratch Art Paper or Board: Scratch art paper is typically coated with a layer of dark ink or paint, covering a layer of bright, contrasting colors. You can find scratch art paper in various sizes and formats, such as sheets, pads, or scratch art boards.
Scratch Tools: These are the key instruments for creating scratch art. You have several options:
Scratchboard Tools: These are specialized scratch tools with a fine point that allows for precise scratching. They often come in various shapes and sizes, including fine-tipped and broad-tipped tools.
Wooden Stylus: A wooden stylus is a simple, yet effective, scratching tool. You can use the pointed end for fine lines and details and the flat end for broader areas.
Metal Paper Clips or Pins: You can also use metal paper clips or pins with a fine point as makeshift scratch tools if you don't have access to specialized tools
Reference Material: If you're working on a specific subject or image, reference materials, such as photographs or sketches, can be helpful for planning your design.
Protective Barrier: Lay down a protective barrier like newspaper or a disposable tablecloth to catch the ink or paint particles that will be scratched away during the process.
Optional materials that can enhance your scratch art project:
Masking Tape: Use masking tape to secure your scratch art paper or board to your work surface, ensuring it doesn't move while you work.
Soft Eraser: A soft eraser can be handy for removing any stray marks or smudges on the scratch art surface.
Fixative Spray: If you wish to preserve your scratch art piece, you can use a fixative spray. However, this step is optional and should be done in a well-ventilated area.
Frame or Mounting Supplies: If you intend to display your finished scratch art piece, you'll need a frame or mounting materials to protect and showcase your artwork.
Learning Objectives
Scratch Art Techniques:
Develop proficiency in various scratch art techniques, including stippling, hatching, cross-hatching, and contour scratching. Color Understanding: Explore the interaction between the dark surface layer and the colored layer underneath. Precision: Enhance precision in scratching techniques to create fine lines, intricate patterns, and subtle shading. Problem-Solving: Develop problem-solving skills by addressing challenges that arise during the scratch art process, such as correcting mistakes or adapting to unexpected results. Critique and Feedback: Develop the ability to self-assess and critique one's own work. Safety and Materials Handling: Learn to handle scratch tools safely to avoid accidents and injuries.
Rubric
Rubric:
Rubrics have become popular with teachers as a means of communicating expectations for an assignment, providing focused feedback on works in progress, and grading final products. A rubric is a document that articulates the expectations for an assignment by listing the criteria, or what counts, and describing levels of quality from excellent to poor.
The rubric for the scratch art project can be viewed, downloaded and printed below. Enjoy
Texture:
An element of art that refers to the way things feel, or look as if they might feel if touched.
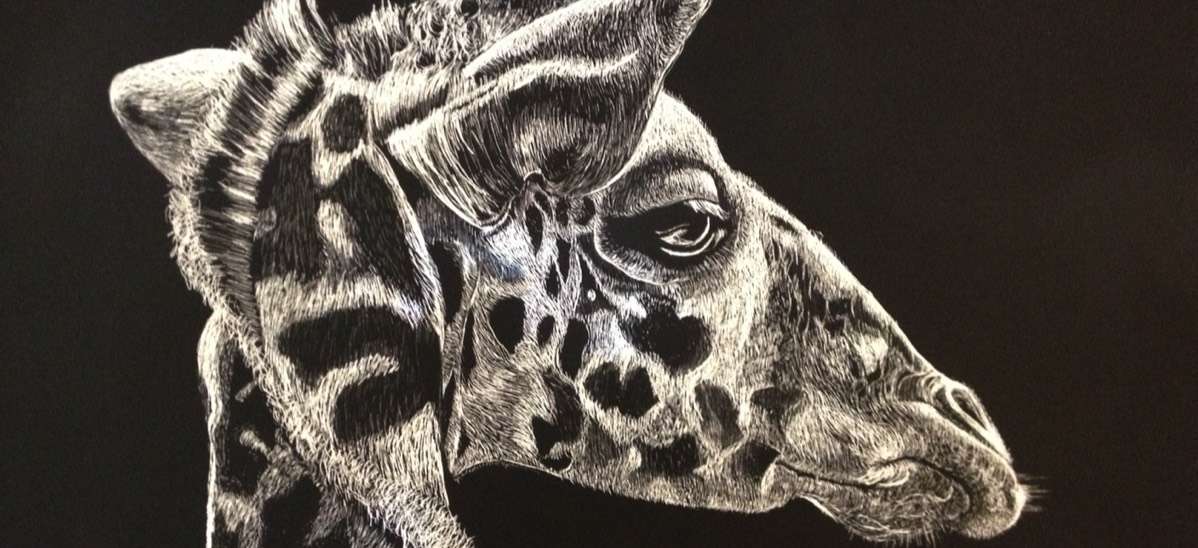
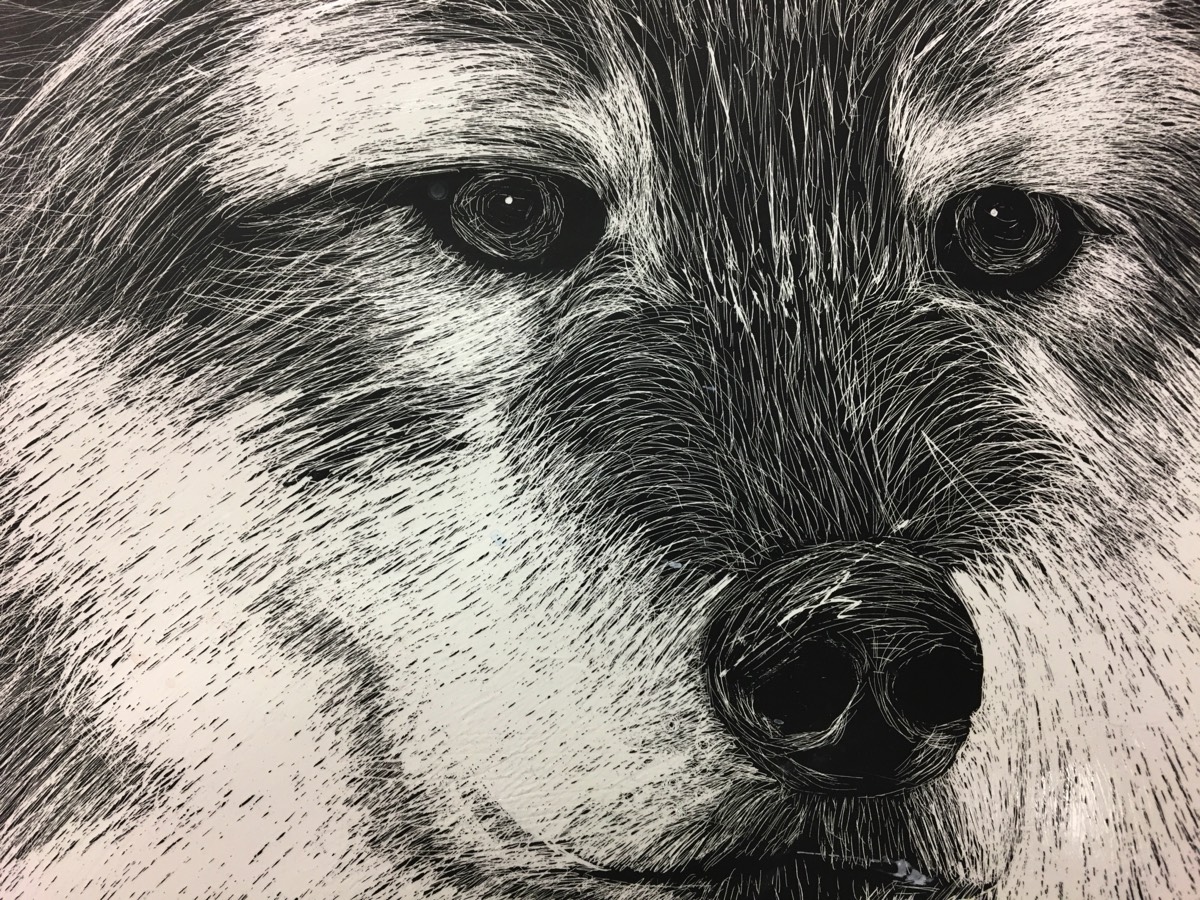
Artist : Sally Maxwell
Sally Maxwell Recognized as a pioneer in scratchboard, Sally was one of the first designated as a Master Scratchboard Artist by the International Society of Scratchboard Artists. She is a Signature member of the Society of Animal Artists and a Silver Signature member of Artists Changing Tomorrow and an active member of American Women Artists. Sally was one of the first to introduce color to the medium and has been perfecting her craft since 1967.
Sally has an innate connection with the animal world and regularly travels to exotic locations to photograph her subjects and experience their behavior in the wild. Her works are on display in museums nationwide and in private collections across the globe.
Sally has an innate connection with the animal world and regularly travels to exotic locations to photograph her subjects and experience their behavior in the wild. Her works are on display in museums nationwide and in private collections across the globe.
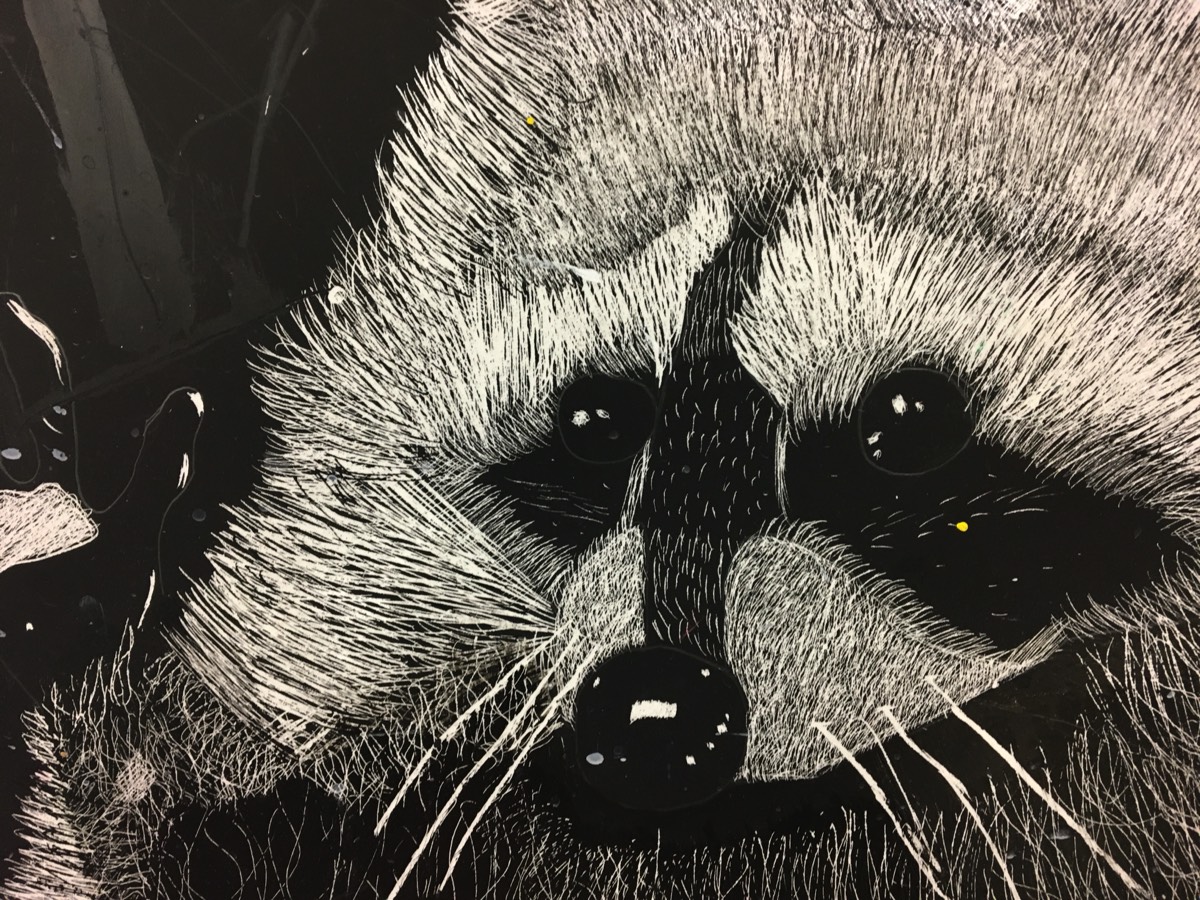
Project Example
Project Demonstration
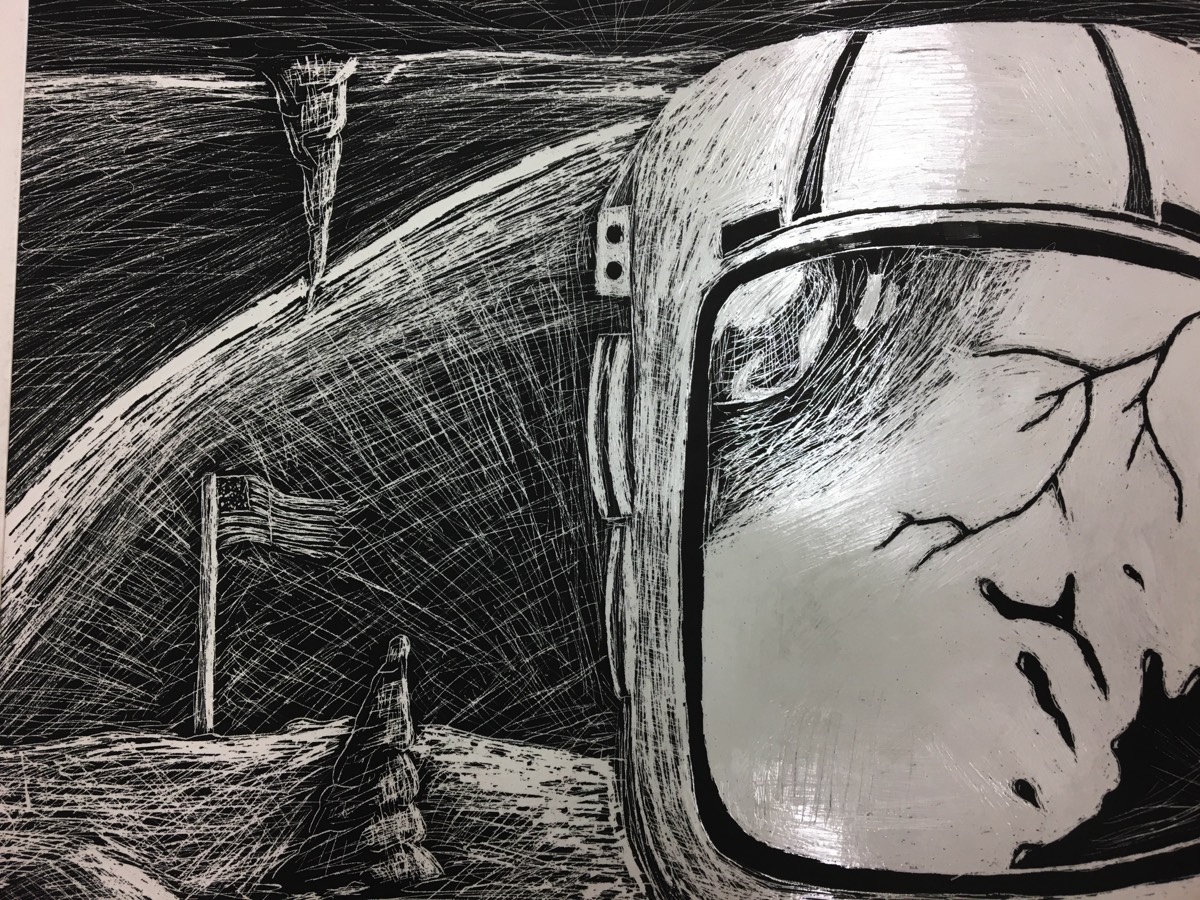
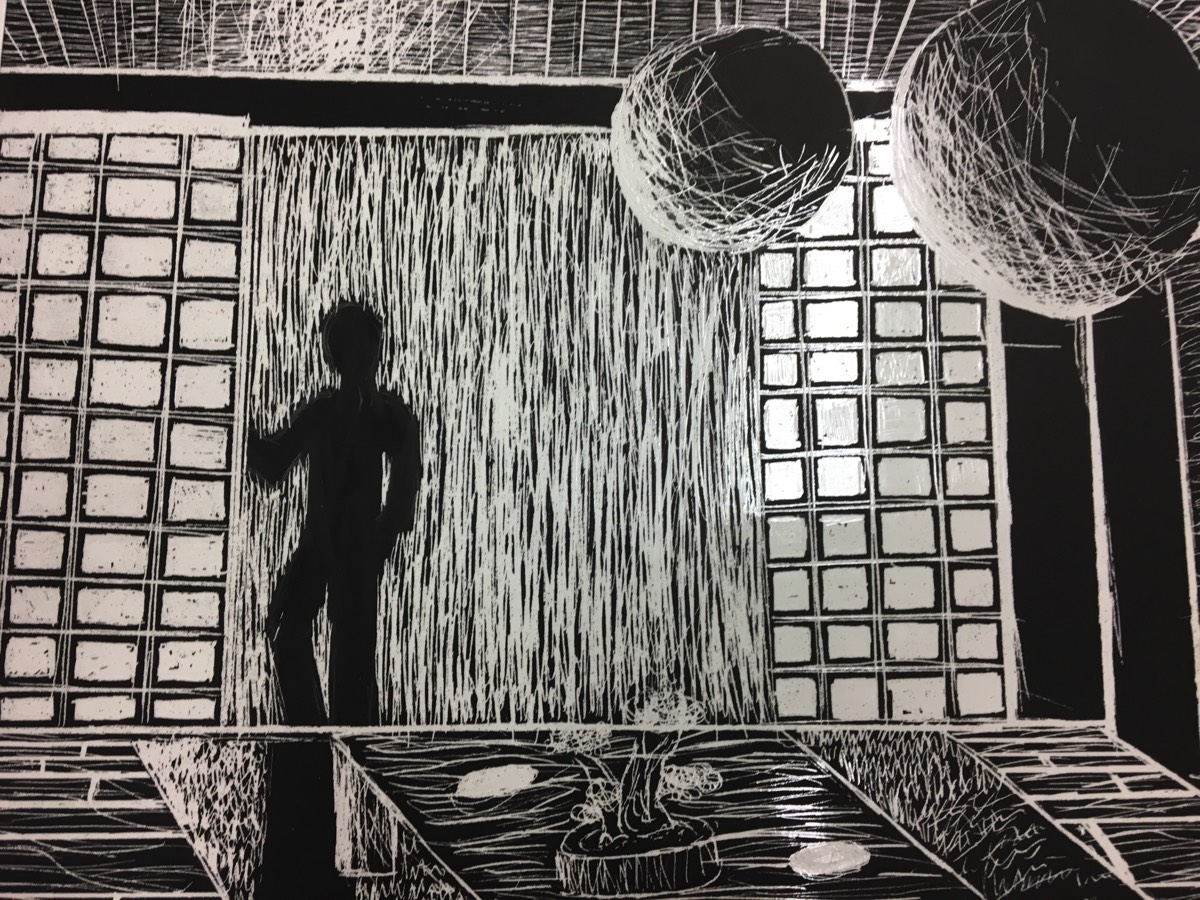
Student Work
You're Ready to Start Your Project.
Project Submission
Scratch Art Comments
- 1
- 2
- 3
- 4
- 5
- 6
- 7
- 8
- 9
- 10
- 11
- 12
- 13
- 14
- 15
- 16
- 17
- 18
- 19
- 20
- 21
- 22
- 23
- 24
- 25