Printmaking
Project Description
Project Description:
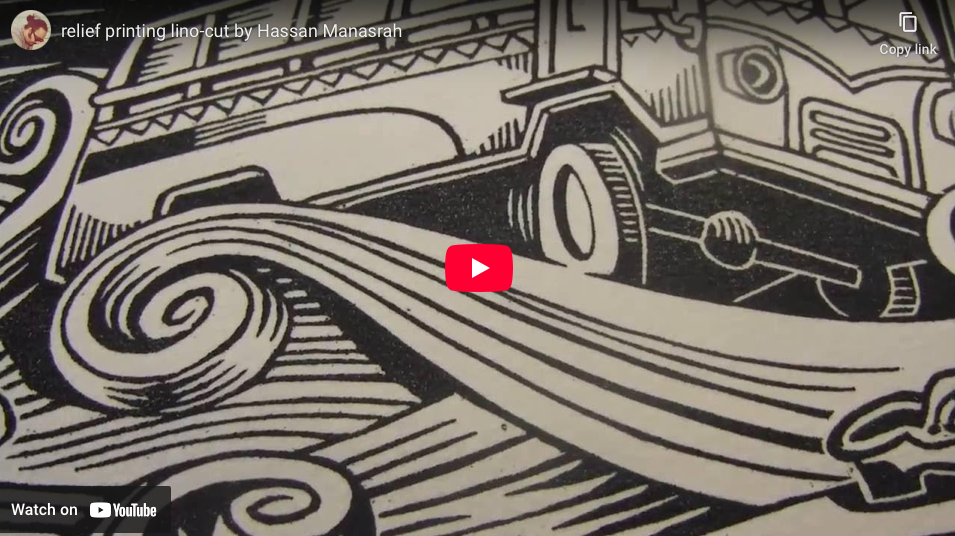
In this project, students will explore the exciting world of printmaking, one of the oldest and most versatile art forms. Students will learn about basic printmaking techniques such as relief printing (using materials like foam, linoleum, or cardboard), and create original designs based on themes like nature, emotions, or patterns.
Through sketching, carving, inking, and printing, students will develop skills in planning, repetition, and composition. Each student will produce a series of prints and experiment with color and texture variations. The final prints will be displayed in a classroom gallery or hallway exhibition.
Materials:
Soft foam sheets or rubber blocks
Brayers (rollers)Water-based block printing ink
Printing paper
Pencils and sketchbooks
Aprons and newspaper (for cleanup)
Learning Objectives
Objectives:
Understand the history and basic techniques of printmaking.
Learn to transfer and reverse images for printing.
Develop fine motor skills through carving or pressing.
Use color, line, and pattern to create expressive artwork.
Reflect on the artistic process through discussion and critique.
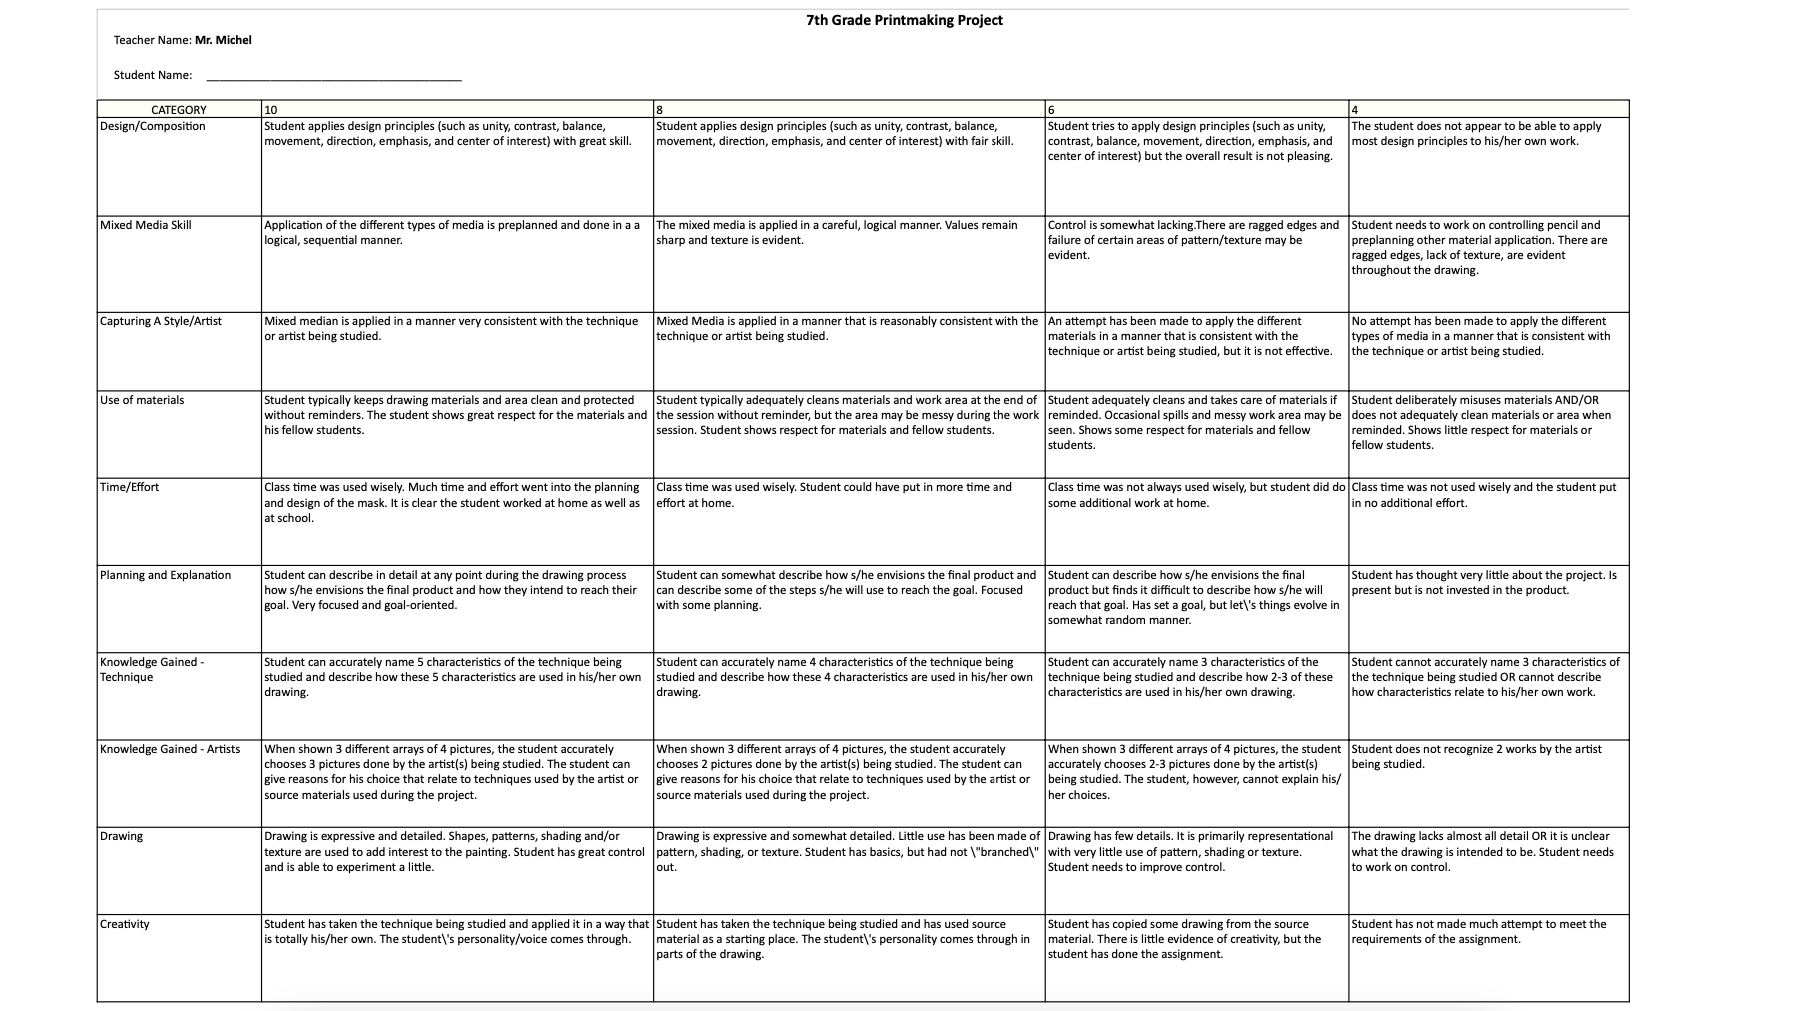
Rubric
Rubrics have become popular with teachers as a means of communicating expectations for an assignment, providing focused feedback on works in progress, and grading final products. A rubric is a document that articulates the expectations for an assignment by listing the criteria, or what counts, and describing levels of quality from excellent to poor.
Element of Art
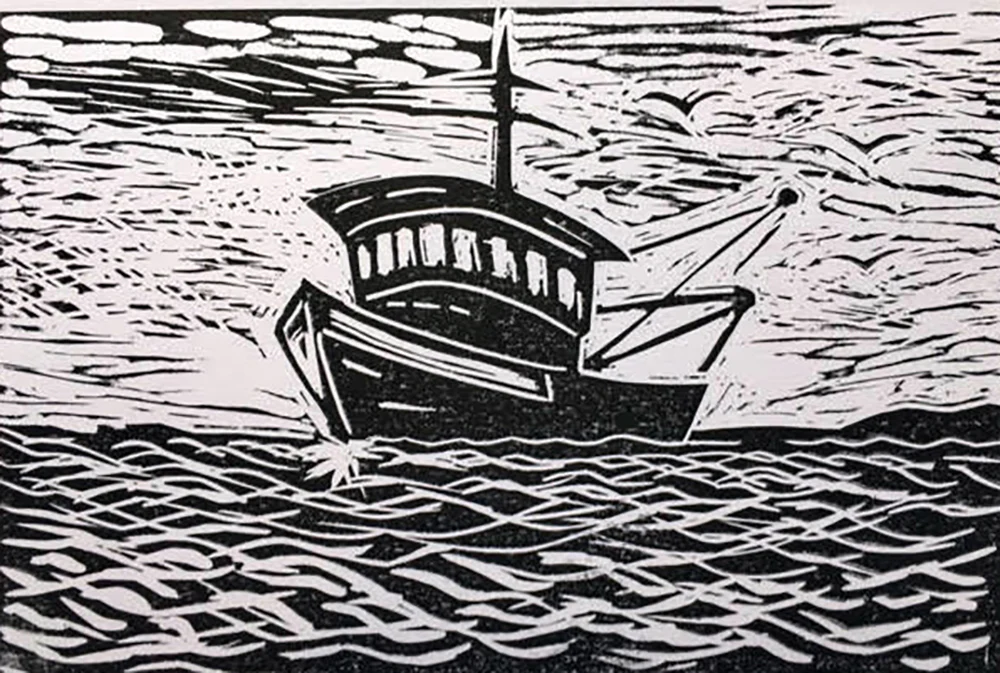
Line:
An element of art defined by a point moving in space. Line may be two-or three-dimensional, descriptive, implied, or abstract.
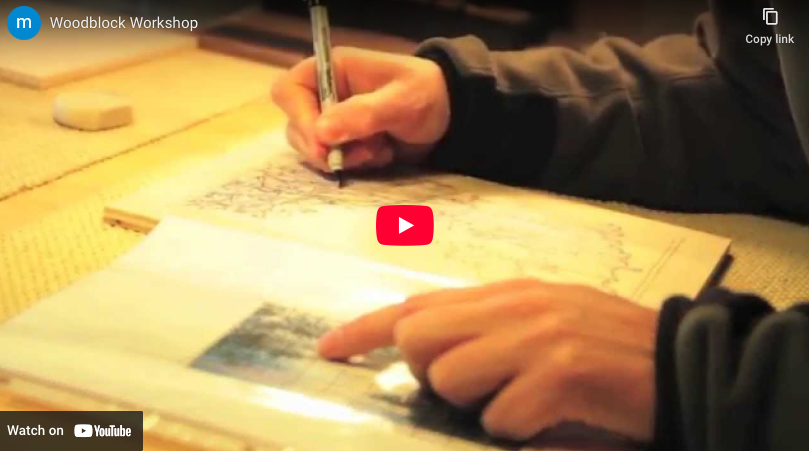
Artist: Nick Wróblewski
Nick Wrobleski is a Midwest based printmaker of hand cut woodblocks. His interest in art was cultivated young by a strong community of artists in Minneapolis, MN, where he grew up. Early experiences in puppetry, painting, and sculpture led to his work as a printmaker. Nick focuses on large multicolor woodcuts and has developed a distinct aesthetic reminiscent of stylized Japanese masters, yet uniquely his own. His work depicts the reverence he has for conversations of the wild and loyalty to the honesty of handcrafted arts. Nick's work can be seen in private collections and galleries throughout the country, as well as commercial design and illustrations. He lives and prints from his home studio in the Driftless region of Wisconsin.
Techniques
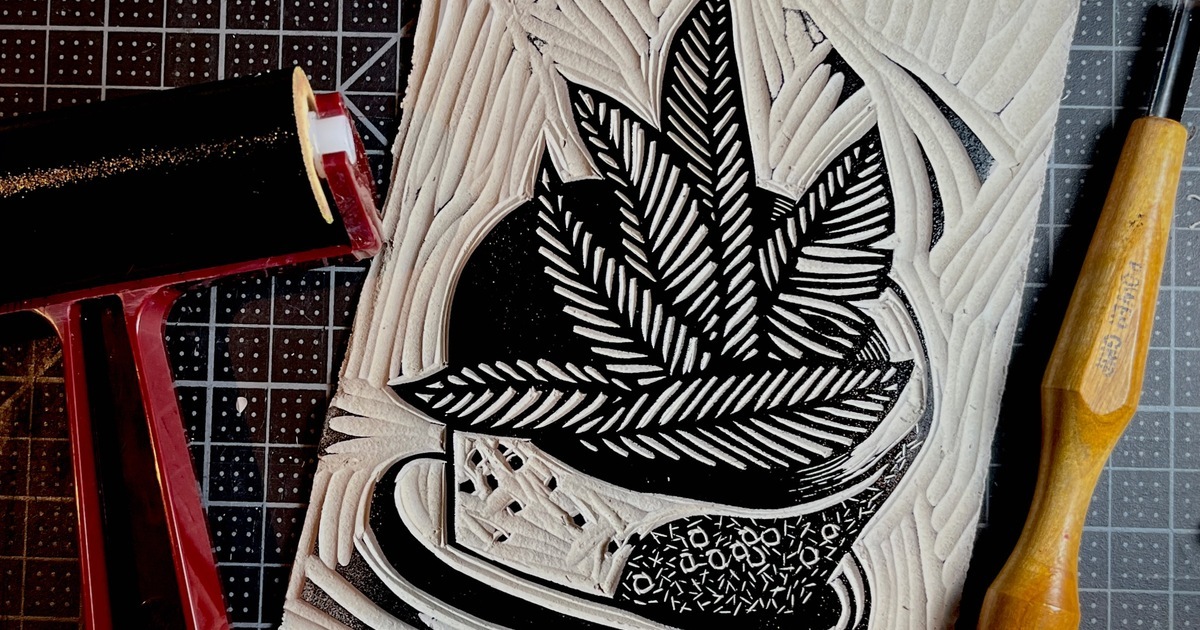
Outline Carving (Contour Lines)
Carve around the outlines of shapes to define them.
Good for bold, graphic compositions.
Hatching and Cross-Hatching
Use fine lines (parallel or crossing) to create shading and texture.
Adds depth without solid areas.
Stippling
Carve small dots or dashes to build up texture or gradients.
Requires patience but creates beautiful results.
Negative Space Carving
Carve away the background, leaving the subject raised.
Emphasizes the main subject through contrast.
Positive Space Carving
Carve the subject itself so it prints white (background stays dark).
Creates a “ghostly” or inverted effect.
Pattern and Repetition
Repeat shapes or textures (lines, spirals, waves) to create rhythm.
Encourages design thinking.
Multi-Block Printing
Use two or more blocks to layer different colors or parts of an image.
Great for more advanced students or collaborative projects.
Reduction Printing (Progressive Carving)
Carve, print a color, carve more, print another color—using the same block.
Teaches planning, sequencing, and color theory.
Texture Carving
Use gouges to create various carved textures like wood grain, fur, or waves.
Adds tactile interest to the design.
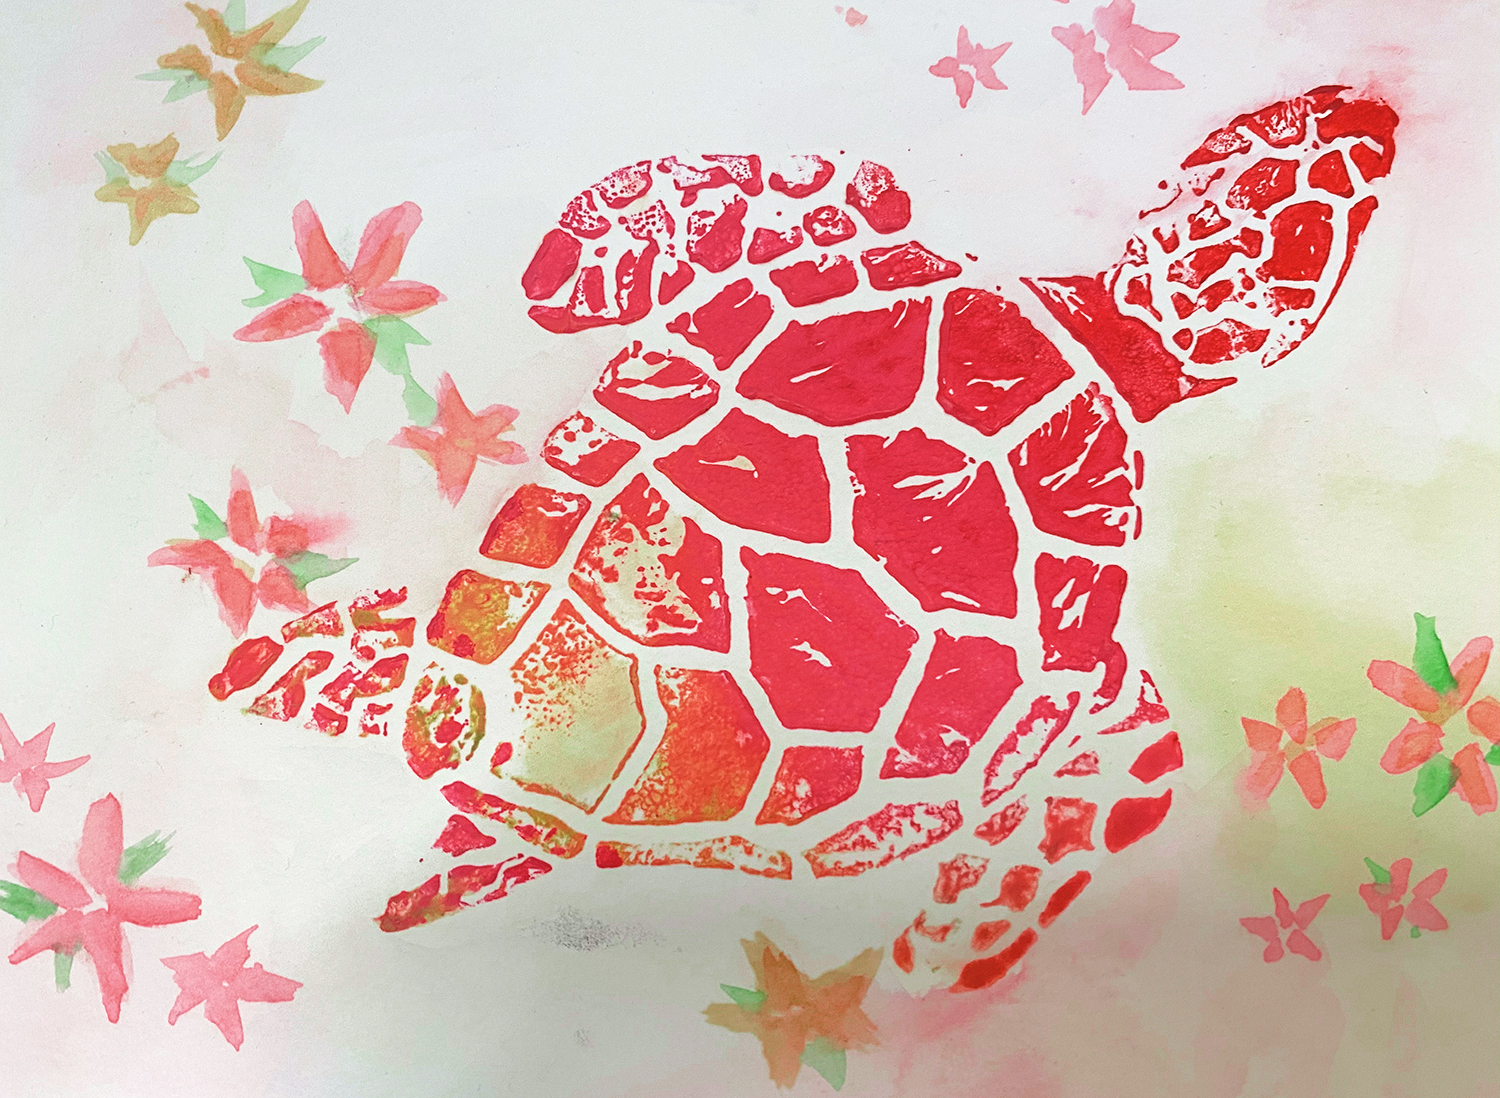
Blended Ink Rolling (Rainbow Roll)
Blend two or more colors directly on the brayer before inking the block.
Adds color variation and visual excitement.
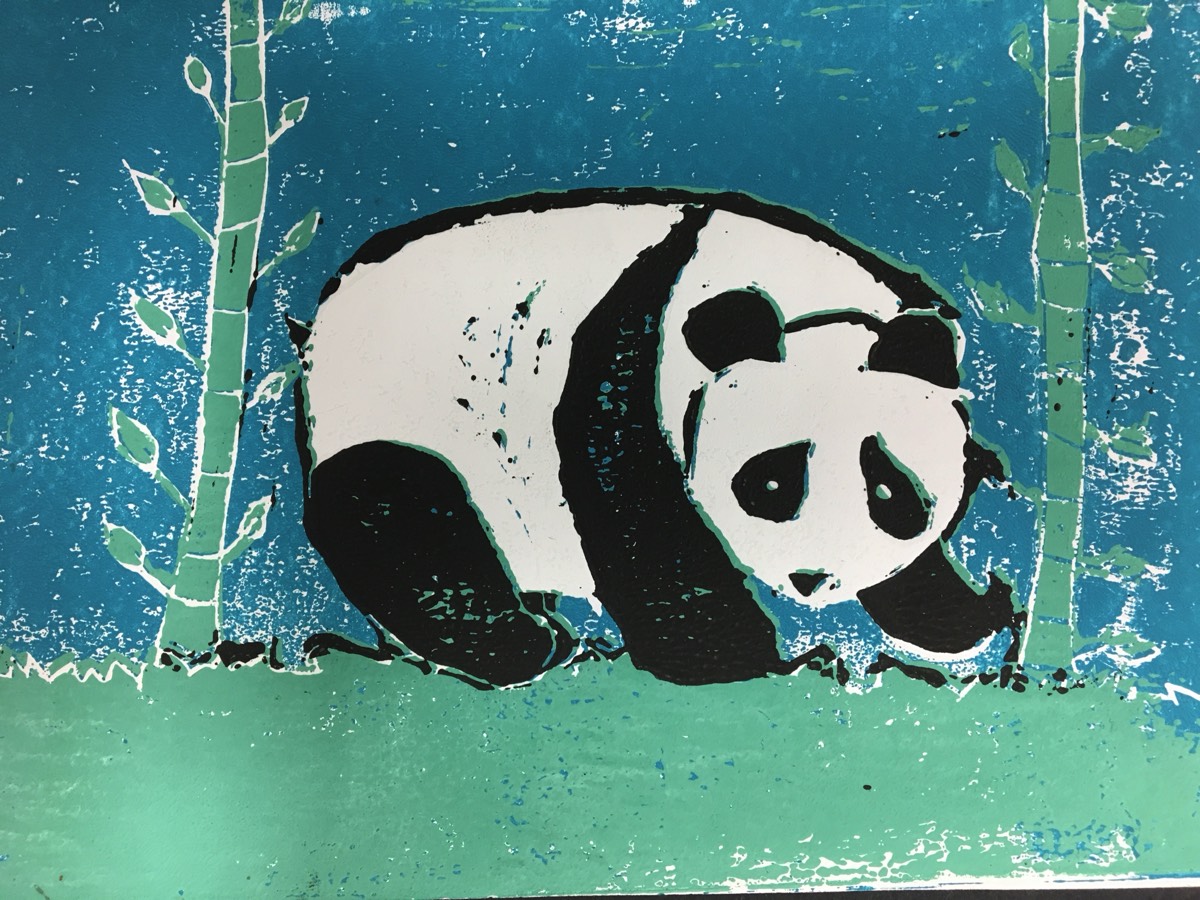
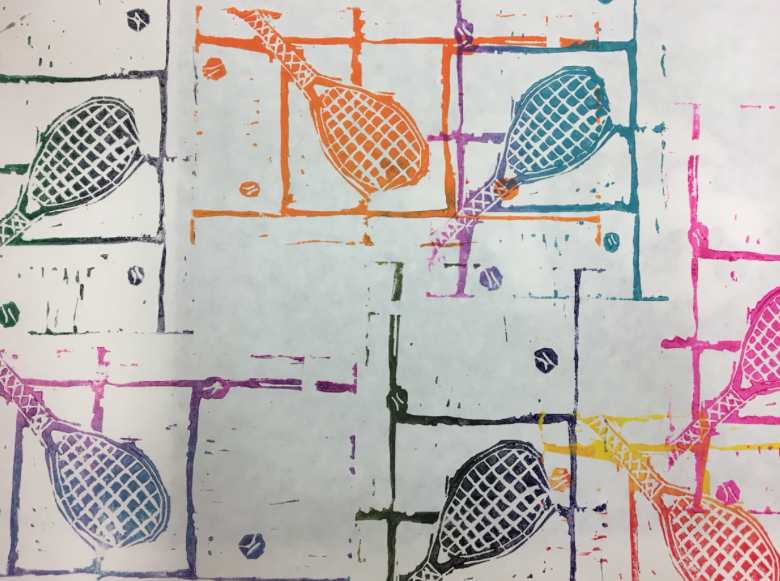
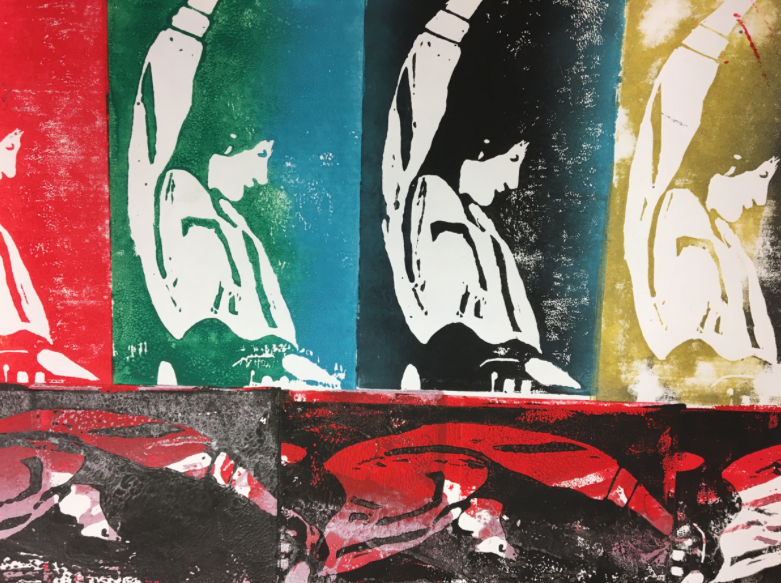
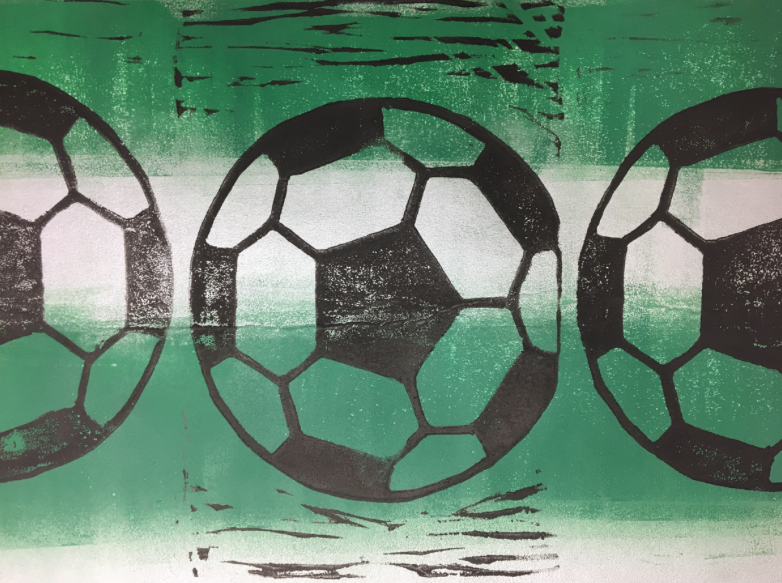
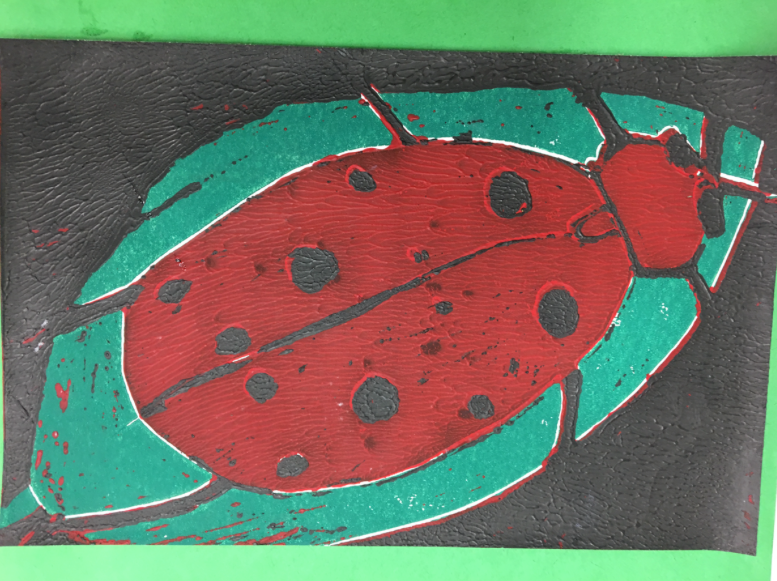
Project Demonstration
Examples


“Creativity takes courage.”
Cloverleaf Middle School
Follow Us
