Zentangle
Project Description
Project Description:
Zentangle calms the mind. It helps reduce stress and improve focus. This is relaxing turns drawing simple patterns into artistic design. The Zentangle art form and method was founded by Rick Roberts and Maria Thomas. It can be done anywhere and no artistic talent is needed. The students will be learning to create fascinating designs using this fun and easy method.
Learning Objectives
Clay Sculpting:
Develop fundamental clay sculpting skills, including kneading, rolling, pinching, and carving.
Architectural Design:
Learn basic architectural design principles by planning and creating a visually appealing clay castle.
Structural Engineering:
Explore basic structural engineering concepts by constructing a stable and sound clay castle.
Creativity and Artistic Expression:
Experiment with textures, patterns, and colors to enhance the castle's visual appeal.
Problem Solving:
Develop problem-solving skills by addressing challenges that may arise during the construction process, such as structural instability or design modifications.
Historical and Cultural Understanding:
Explore the history and cultural significance of castles, gaining insights into different architectural styles and purposes of castles around the world.
Rubric
Rubrics have become popular with teachers as a means of communicating expectations for an assignment, providing focused feedback on works in progress, and grading final products. A rubric is a document that articulates the expectations for an assignment by listing the criteria, or what counts, and describing levels of quality from excellent to poor.

Element of Art
Line:
An element of art defined by a point moving in space. Line may be two-or three-dimensional, descriptive, implied, or abstract.
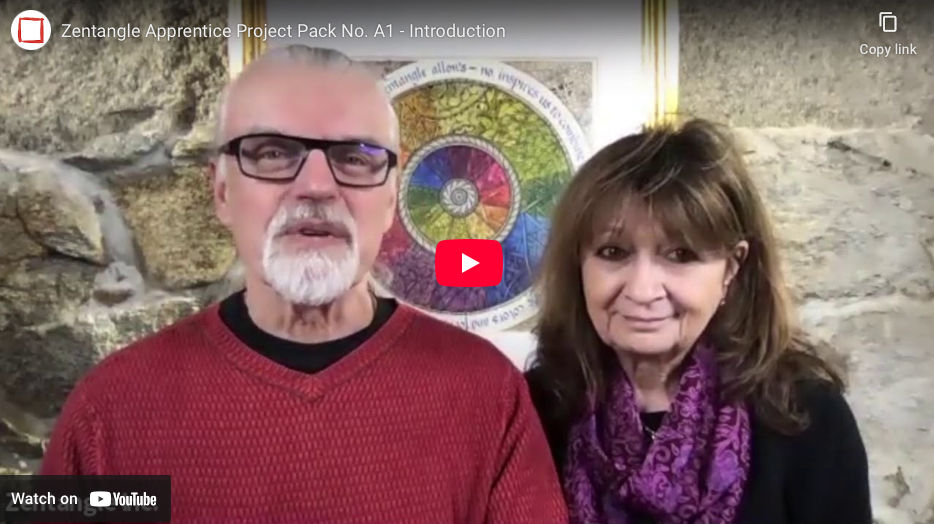
Artist: Rick Robert & Maria Thomas
Rick Roberts and Maria Thomas are the creators of a worldwide phenomenon called "Zentangle". They created this new and unique art form just thirteen years ago in Central Massachusetts. They designed a system for drawing intricate patterns that anyone can learn and produce. This method is being taught all around the world and is more then just a hobby. It's being taught in schools, both primary, high school and college. Hospitals are using this method to aid people in recovering from physical and psychiatric health issues.
Techniques
Line Variation
Thick vs. Thin Lines: Alternate between thick and thin lines to create visual contrast and emphasis.
Curved vs. Straight Lines: Mix straight, curved, and zigzag lines for a variety of effects and to keep the design dynamic.
Shading (Adding Depth)
Use stippling (small dots) or cross-hatching (intersecting lines) to add depth and dimension to patterns.
Gradually shade from light to dark within the patterns for a 3D effect, giving your design texture.
Repeating Patterns (Tangles)
Straight Lines: Simple repetitive patterns like lines, grids, and spirals.
Curved Lines: Create organic, flowing patterns such as loops, curls, and arcs.
Popular tangles include ‘Crescent Moon,’ ‘Hollibaugh,’ ‘Printemps,’ ‘W2,’ and ‘Fescu’. Students can research and choose their favorite ones.
Symmetry and Reflection
Mirror Images: Use symmetry by creating patterns on one side and mirroring them on the other side of the page.
This creates a sense of balance and unity within the design.
Overlapping & Layering
Layer different patterns on top of one another to create a more complex design.
Allow lines and shapes from one pattern to overlap with others to create a sense of cohesion.
Organic Patterns vs. Geometric Patterns
Organic: Free-flowing, curved patterns (like vines or waves) that mimic nature.
Geometric: Sharp, angular patterns (like triangles or squares) for a more structured look.
Tangle Fills
Fill larger spaces with intricate tangle patterns (e.g., lines, dots, curves) to create a sense of movement or texture in a specific area.
This technique can also be used in small sections of the design, filling negative spaces.
Dotwork (Stippling)
Create shading or texture using only dots to add subtle gradients and depth to your design.
Vary the density of dots for a lighter or darker appearance.
Contrast & Negative Space
Use negative space (areas left blank) to enhance the patterns and create a visual balance.
Make certain parts of the design more prominent by leaving others unfilled or lightly shaded.
Borders & Framing
Outline sections or the entire design with simple borders (e.g., dots, squares, zigzags) to frame your Zentangle.
This can help separate the design from the rest of the page or give it a finished look.
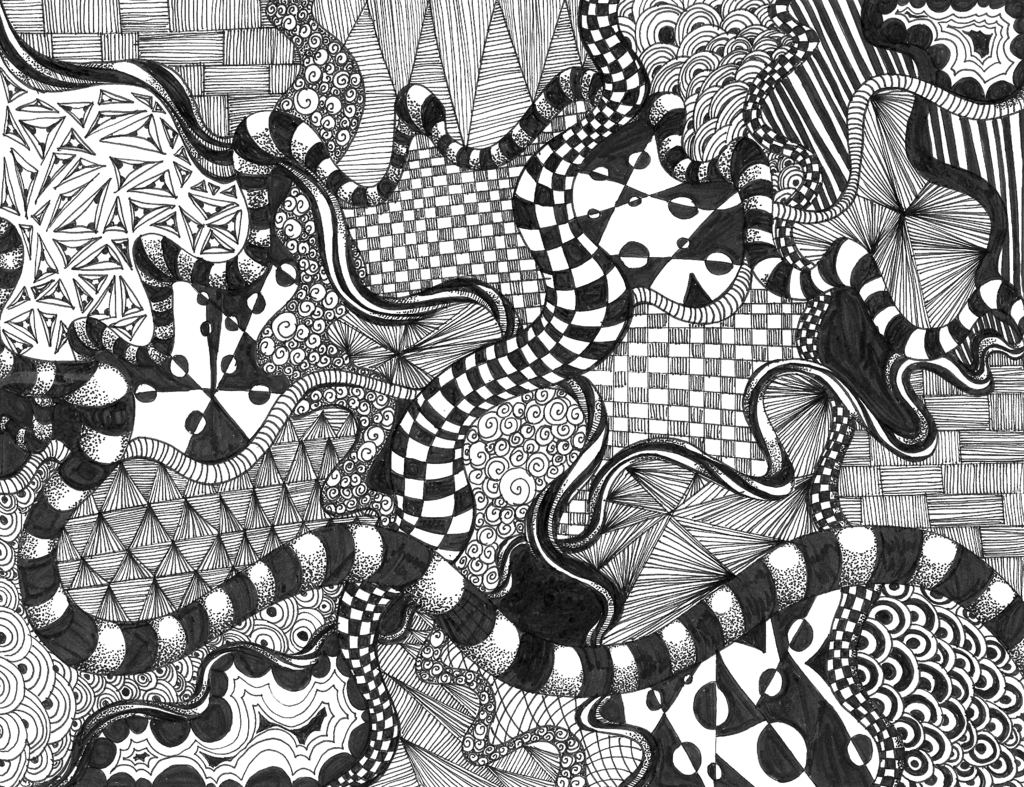
Project Demonstration
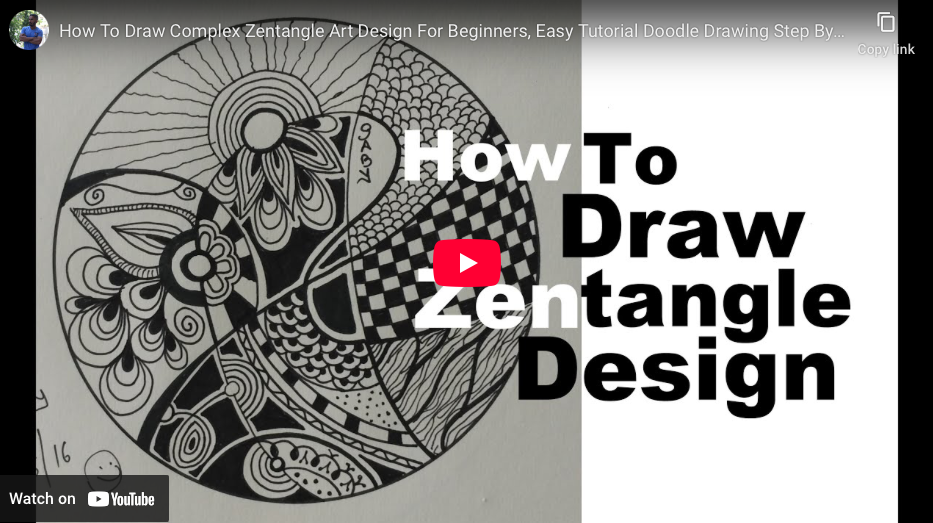
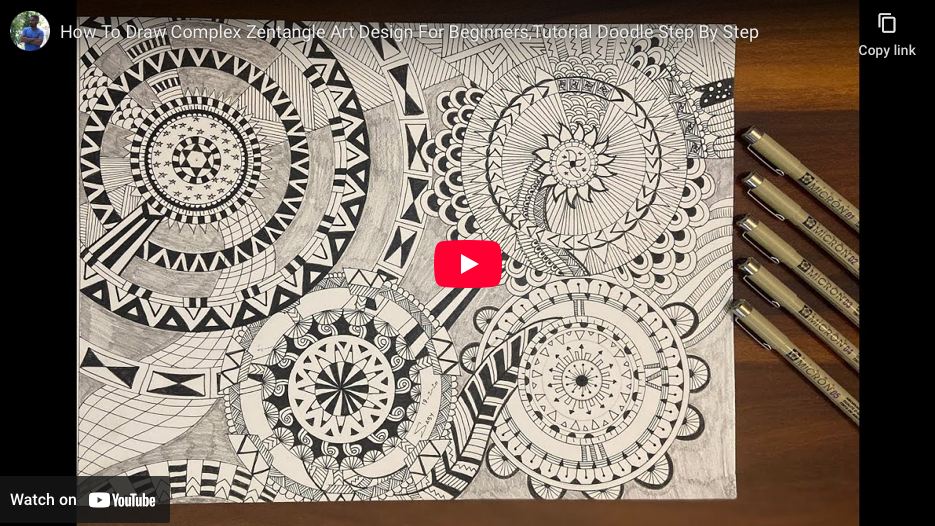
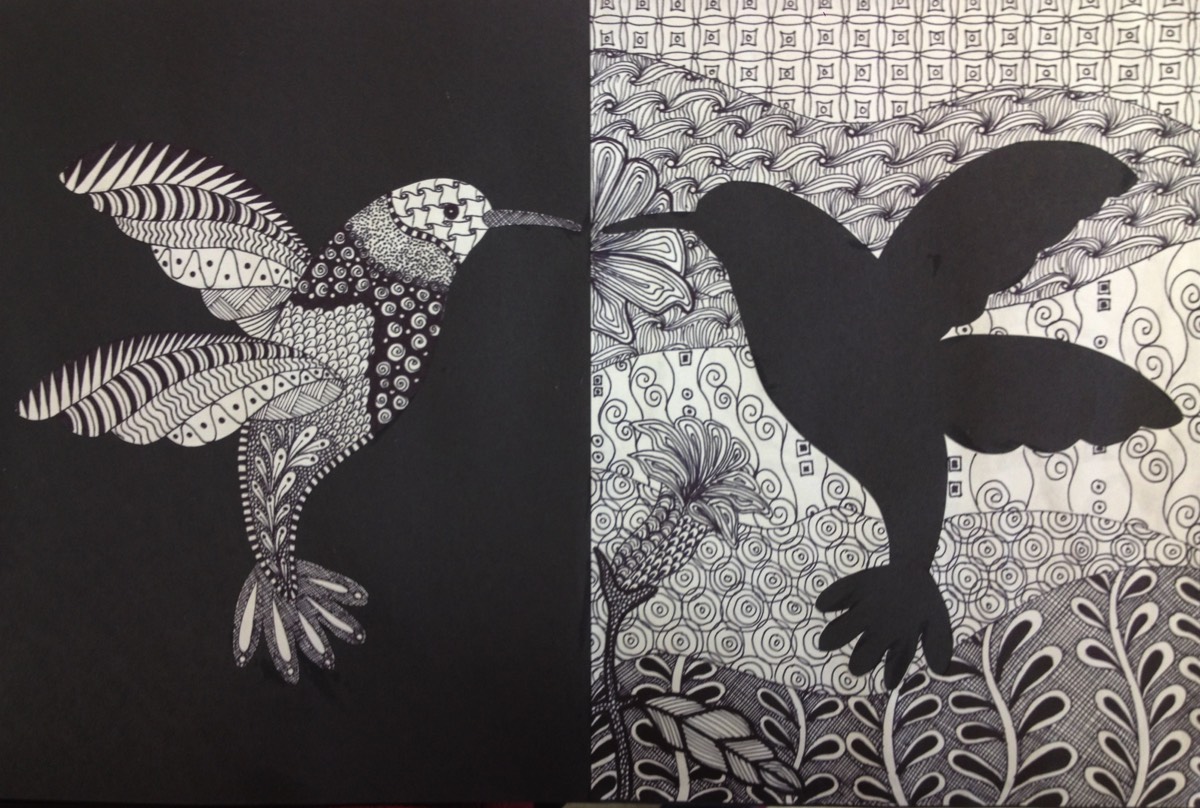
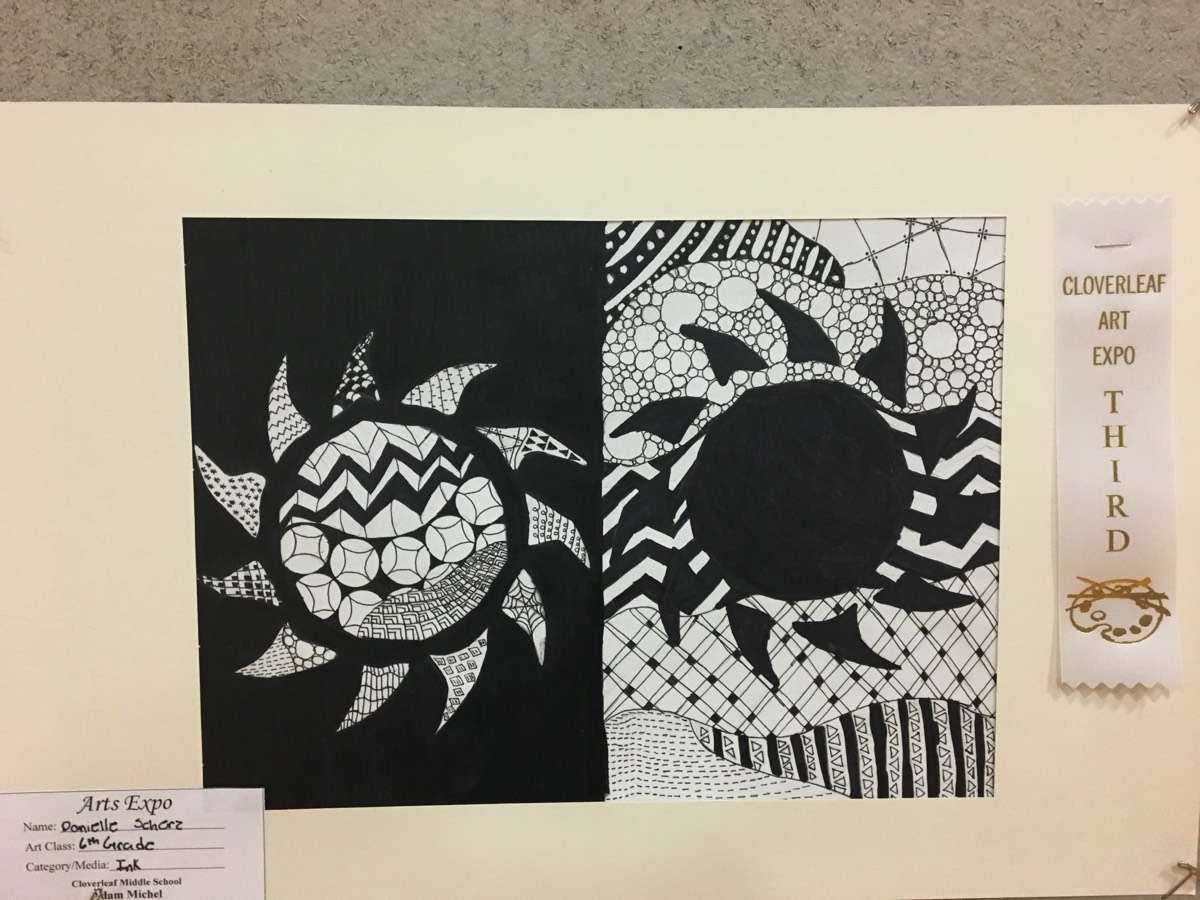
Examples


“Creativity takes courage.”
Cloverleaf Middle School
Follow Us

