Self-Portrait
Project Description
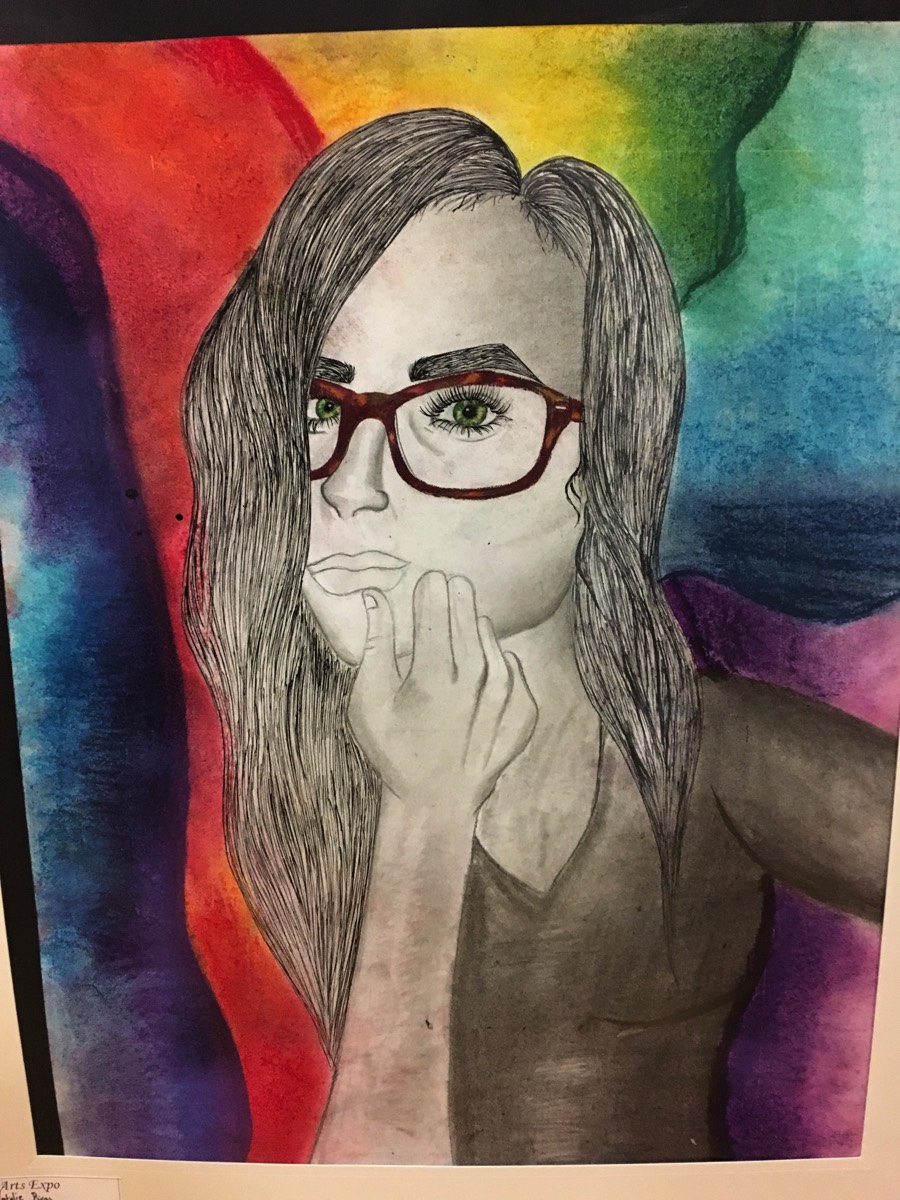
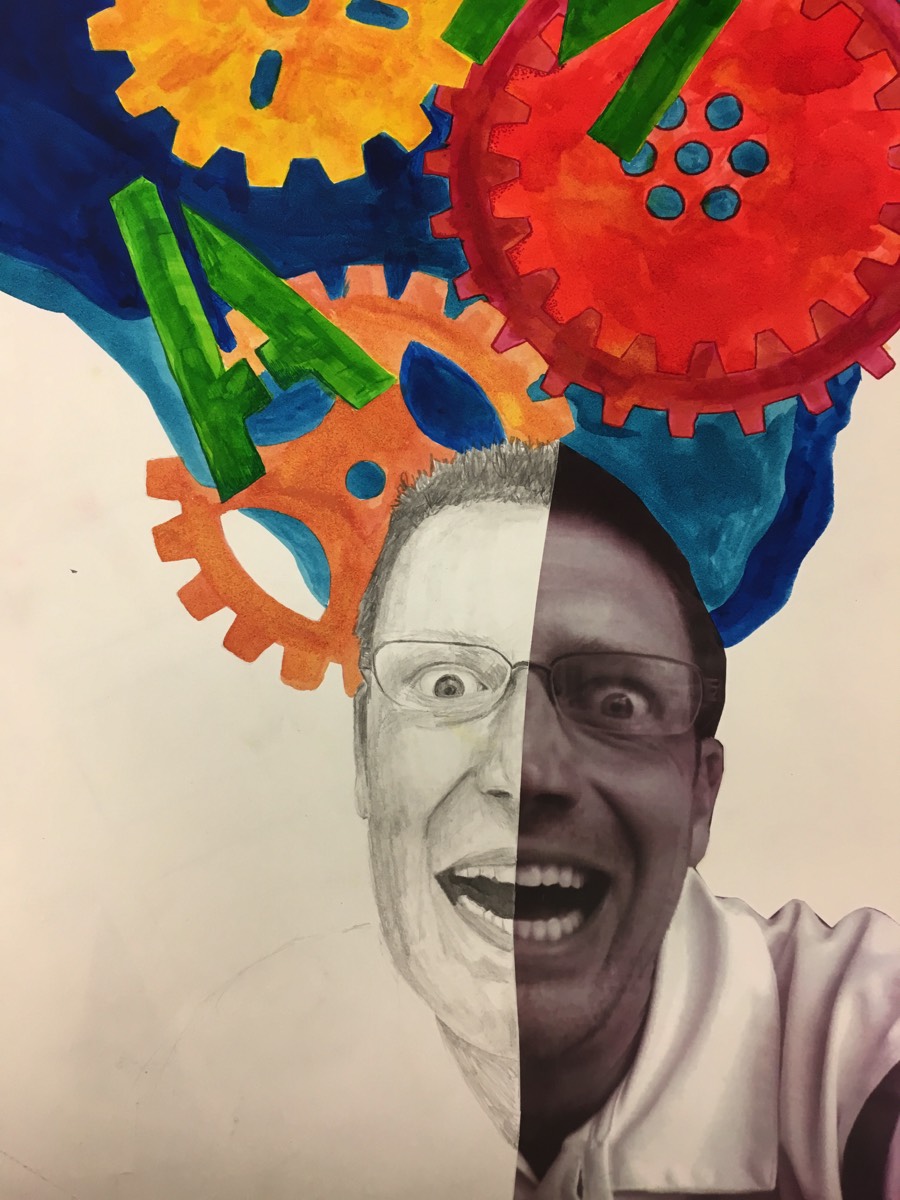
In this project, students will create expressive self-portraits using pencil for realistic drawing and markers to design a bold, colorful background. The focus is on combining accurate facial features with creative use of line, pattern, and color to represent their personality, mood, or interests. This mixed media approach allows students to explore contrast between the calm realism of pencil and the vibrant energy of markers.
Project Goals:
Practice facial proportion and shading with pencil.
Express individuality through symbolic or abstract backgrounds.
Explore the contrast between monochrome and color.
Learn to combine two art media in a unified composition.
Build observation, planning, and design skills.
Project Steps:
Photo Reference:
Take a head-and-shoulders photo of each student for reference, or use a mirror.
Portrait Drawing (Pencil):
Lightly sketch the outline of the head and shoulders.
Add accurate facial features using proportion guidelines.
Refine and shade the features to add depth and realism.
Background Design Planning:
Brainstorm symbols, patterns, and colors that represent the student’s identity, hobbies, or emotions.
Sketch a few background ideas in a sketchbook or planning sheet.
Marker Background (Color & Pattern):
Fill the background area with vibrant colors, repeating patterns, or abstract designs using markers.
Keep the portrait area free of marker to maintain the pencil-only effect.
Final Touches:
Erase stray lines and clean up shading.
Add outlines to the portrait (optional) or enhance contrast.
Reflection or Artist Statement (Optional):
Write a short paragraph explaining how the background represents their personality or story.
Learning Objectives
Draw a proportional human face using basic facial structure guidelines (e.g., eye-line, nose-line, mouth placement).
Demonstrate shading techniques with pencil to create depth and realistic facial features.
Express personal identity or emotion through the use of symbolic or abstract imagery in the background.
Apply the elements of art—line, color, shape, and value—in both realistic (portrait) and expressive (background) contexts.
Use mixed media effectively, combining pencil and markers in a cohesive composition.
Plan and execute an artwork that shows creativity, personal meaning, and attention to detail.
Analyze and reflect on their own work and the work of peers using appropriate art vocabulary.
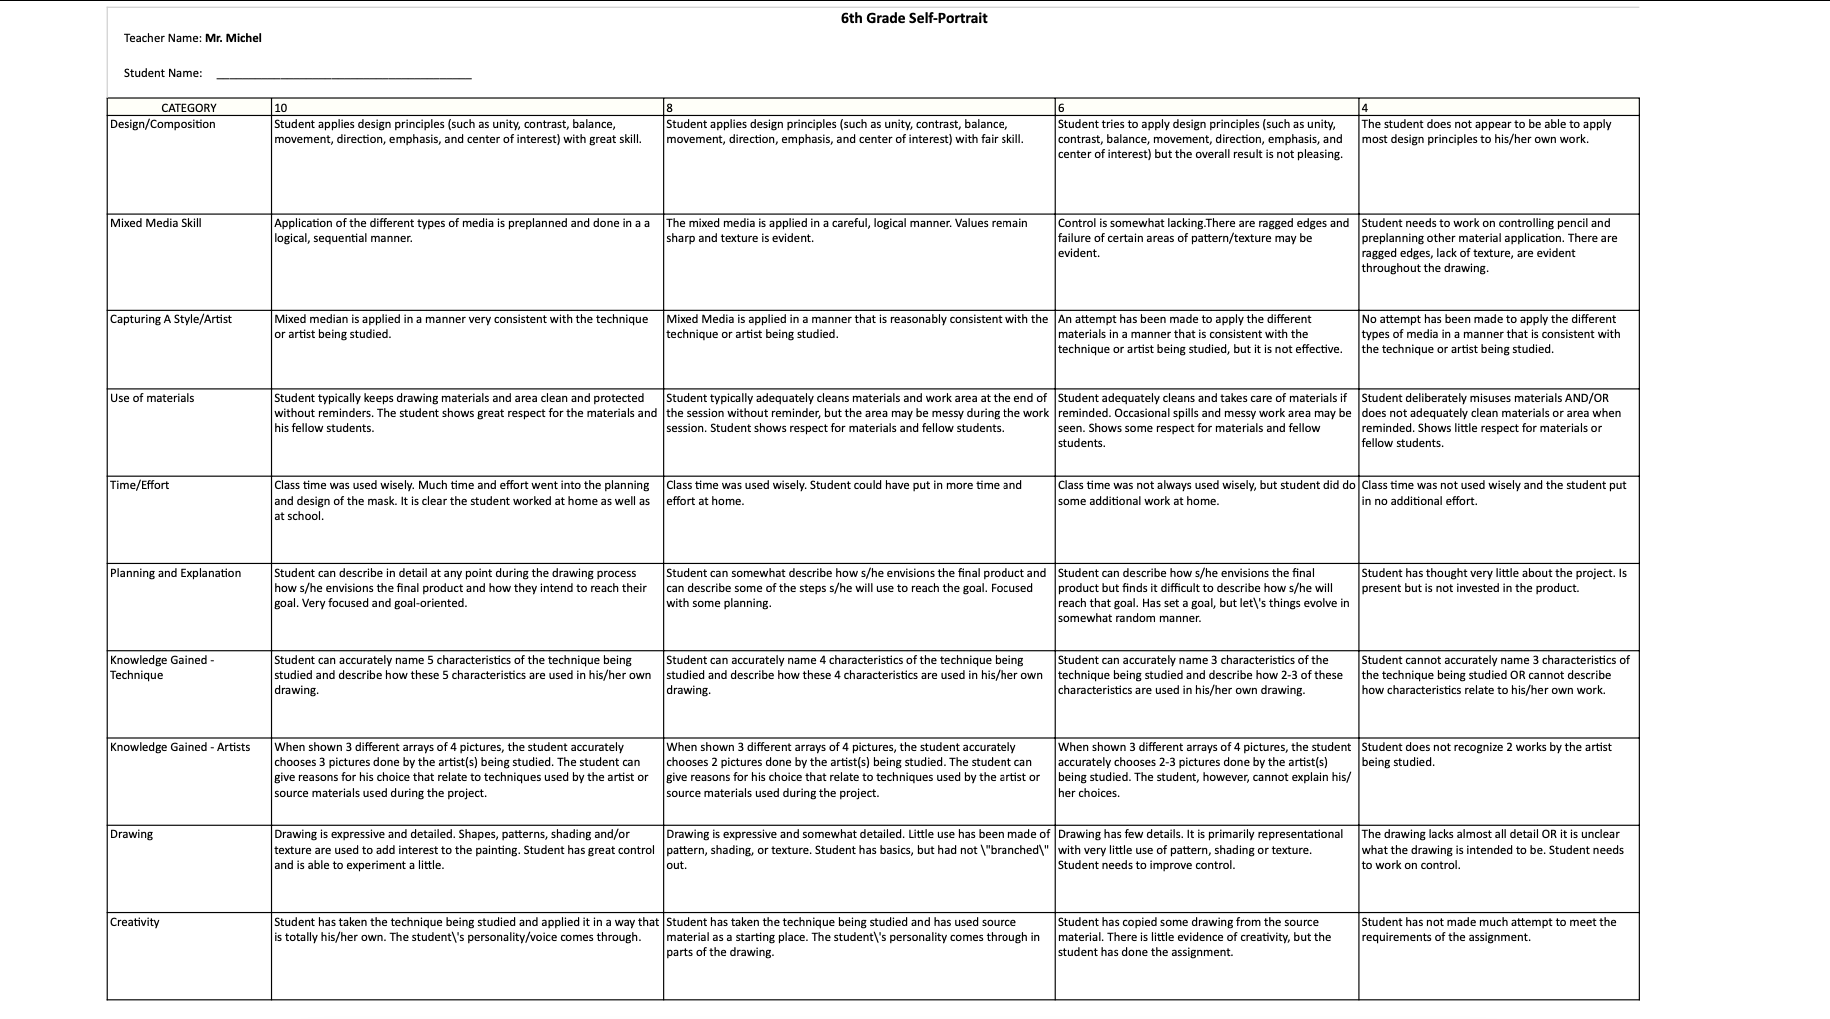
Rubric
Rubrics have become popular with teachers as a means of communicating expectations for an assignment, providing focused feedback on works in progress, and grading final products. A rubric is a document that articulates the expectations for an assignment by listing the criteria, or what counts, and describing levels of quality from excellent to poor.
Element of Art
Space:
An element of art by which positive and negative areas are defined or a sense of depth achieved in a work of art.
Artist: Chuck Close
Chuck Close was an American artist best known for his large-scale, highly detailed portraits. Despite living with a condition called prosopagnosia (face blindness) and later becoming paralyzed, he continued to create art using innovative techniques. Close began with photorealistic portraits, but later developed a signature grid method, where he broke images into small squares and filled each one with abstract colors and shapes that came together to form a realistic image from a distance. His work explores the relationship between photography, painting, and perception.

Techniques
Portrait (Pencil) Techniques:
Facial Proportion Guidelines
Teach students to use simple guidelines (eye line, nose line, mouth line) to map out facial features accurately.
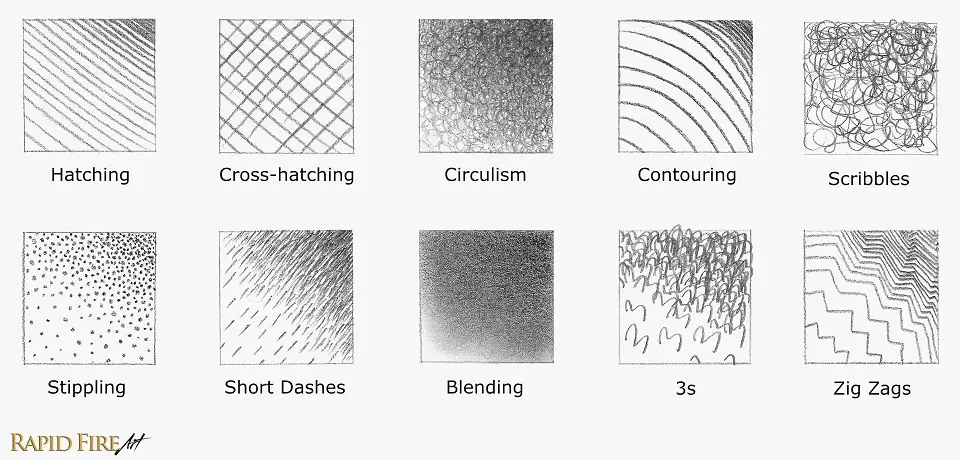
Value Shading
Use light to dark shading (blending, hatching, or cross-hatching) to add depth and form to the face.
Contour Drawing
Focus on the outline and shape of the face and features for cleaner linework and accuracy.
Details & Textures
Emphasize drawing detailed features like hair texture, eyes, and lips using varied pencil pressure.
Background (Marker) Techniques:
Radial or Geometric Patterns
Use repeating shapes or radiating lines from the portrait to create movement and contrast.
Symbolic Imagery
Include symbols, icons, or images that represent the student’s identity, hobbies, or interests.
Color Blocking
Fill sections of the background with bold, solid blocks of color to frame or contrast the portrait.
Zentangle or Doodle Art
Fill the background with detailed, structured patterns (e.g., waves, spirals, checkerboards) to add texture and visual interest.
Warm vs. Cool Colors
Use temperature-based color schemes (warm: reds/oranges/yellows, cool: blues/greens/purples) to create mood or contrast.
Contrast Framing
Leave a small white space or thin black outline around the head to make the portrait “pop” from the colorful background.
Gradient or Ombre Fill
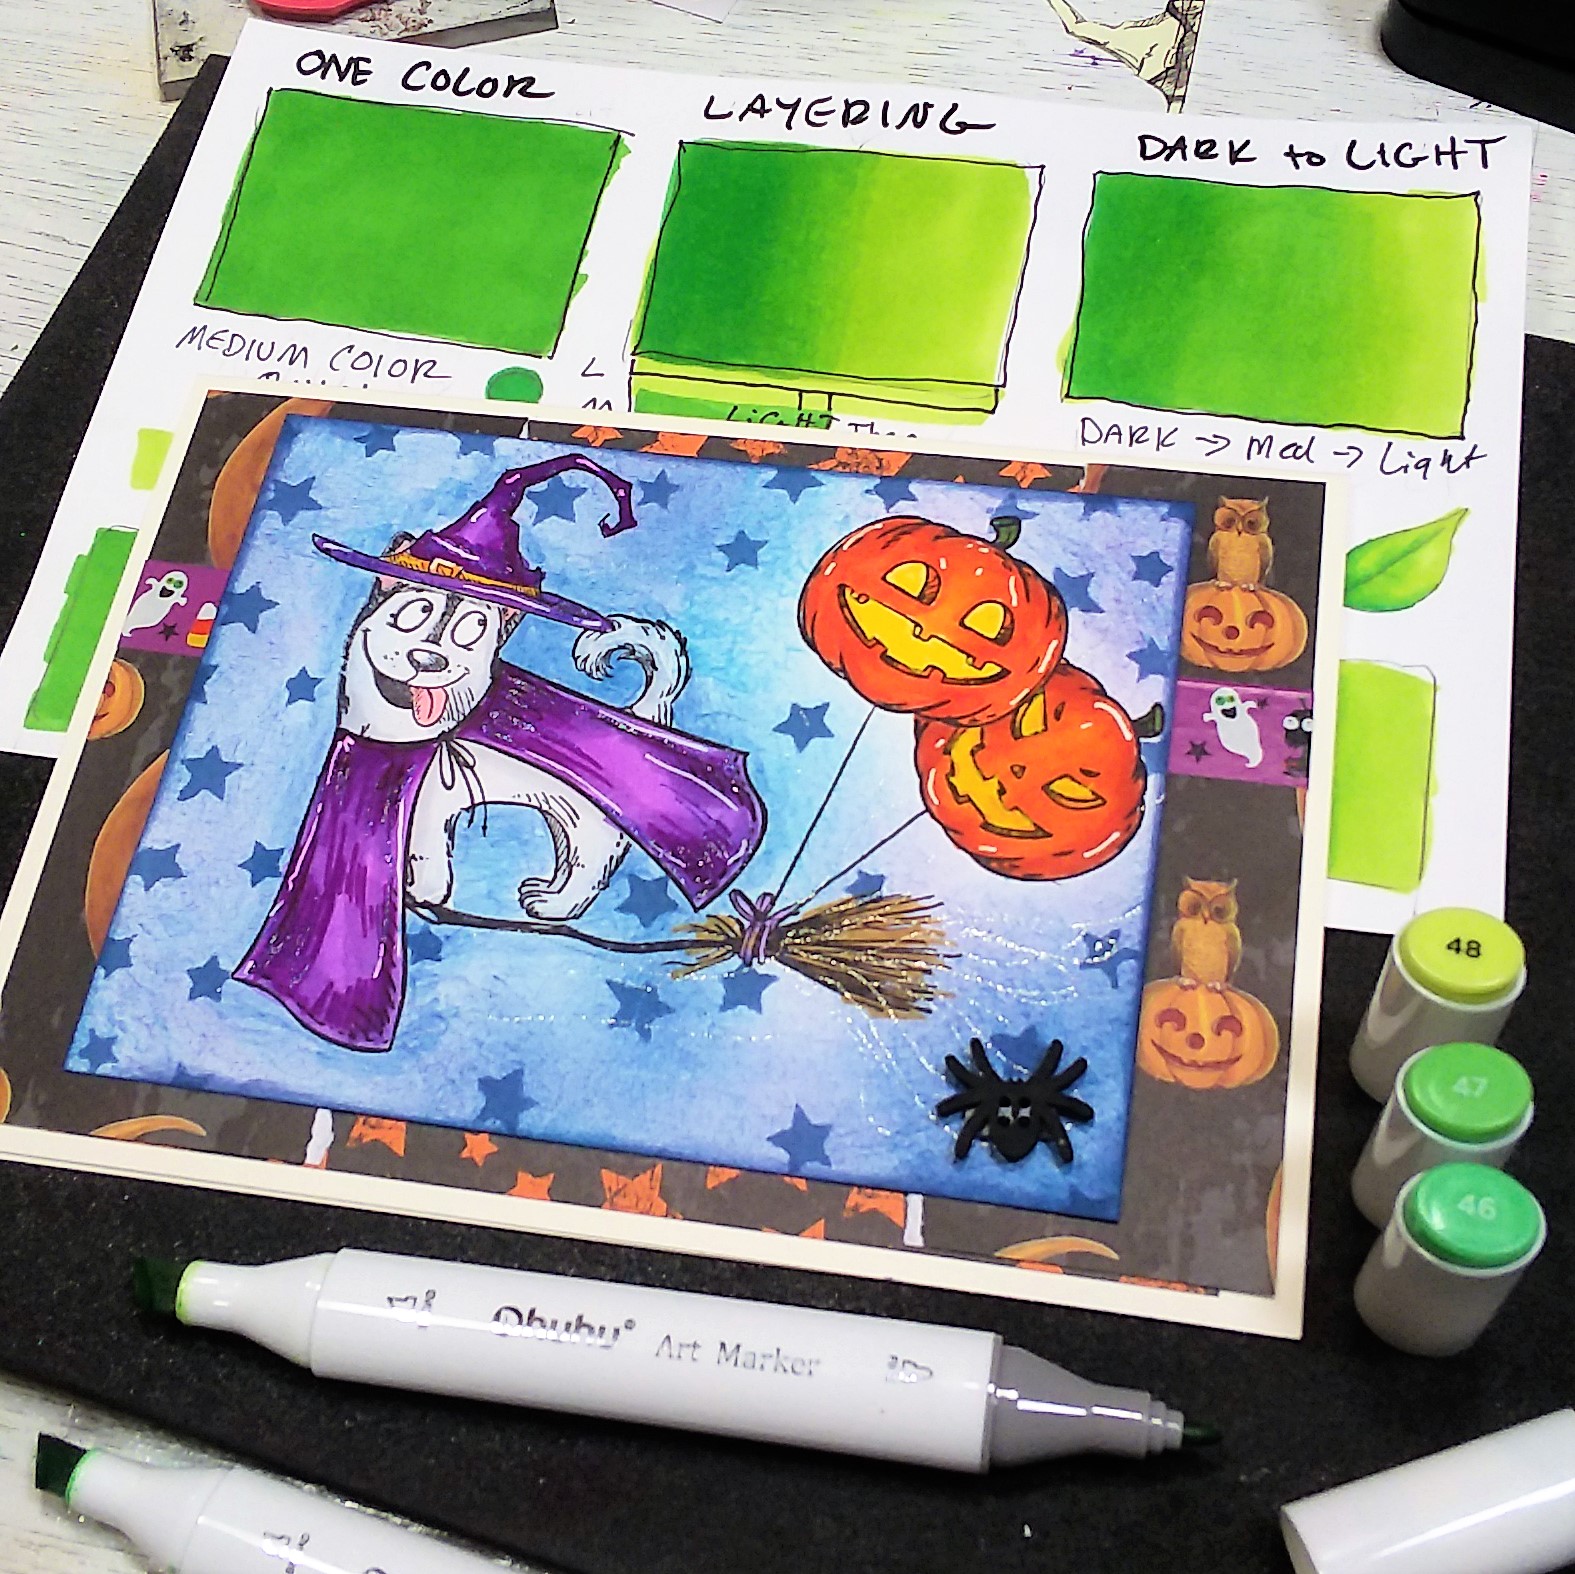
Blend marker colors from dark to light or mix colors for a background that fades smoothly.
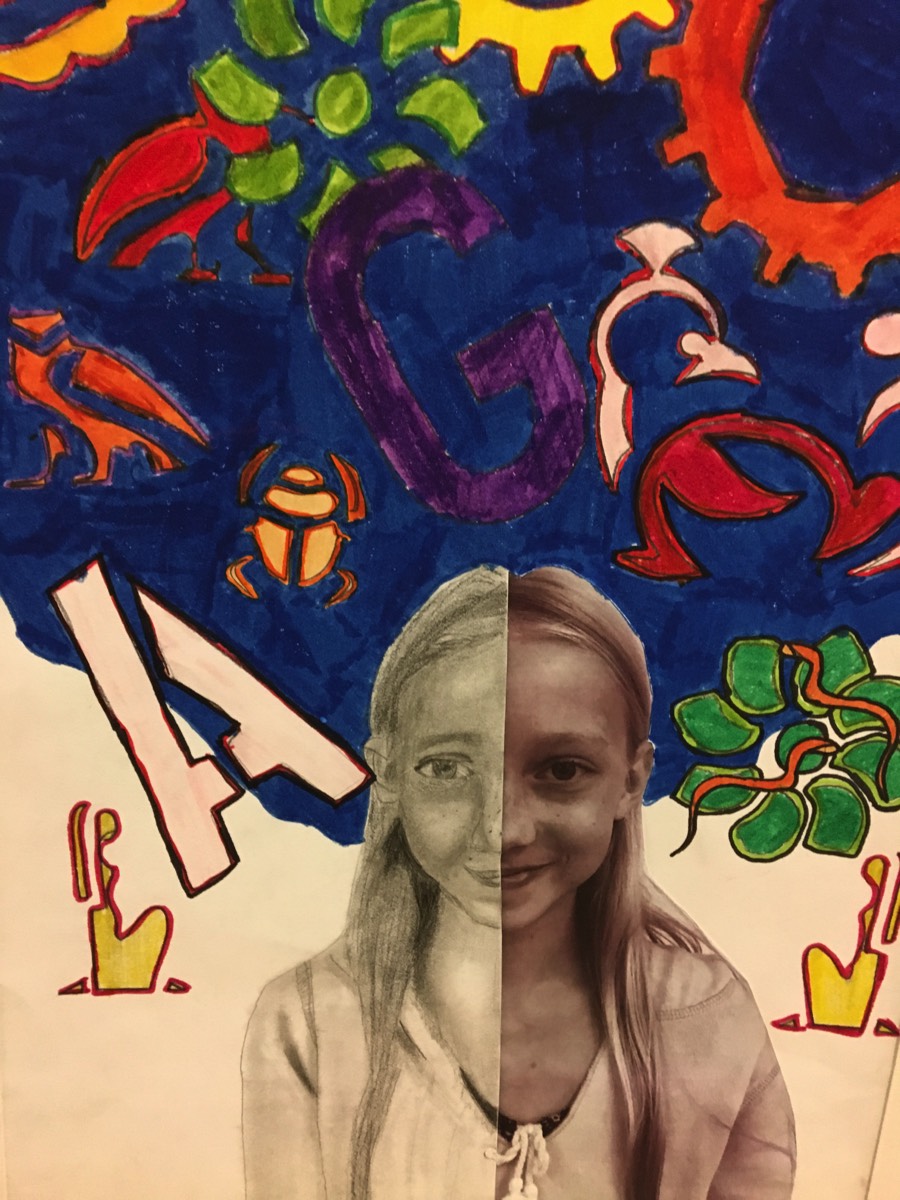
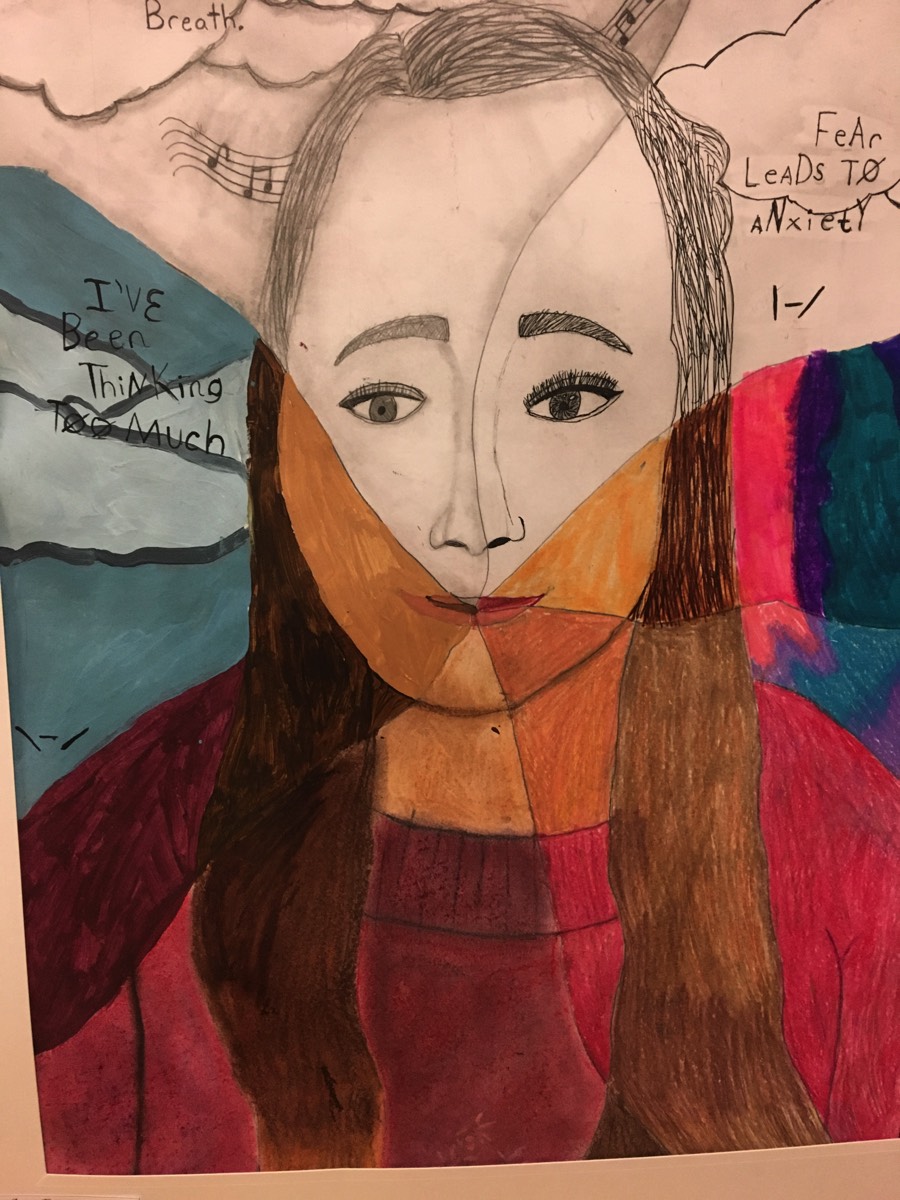
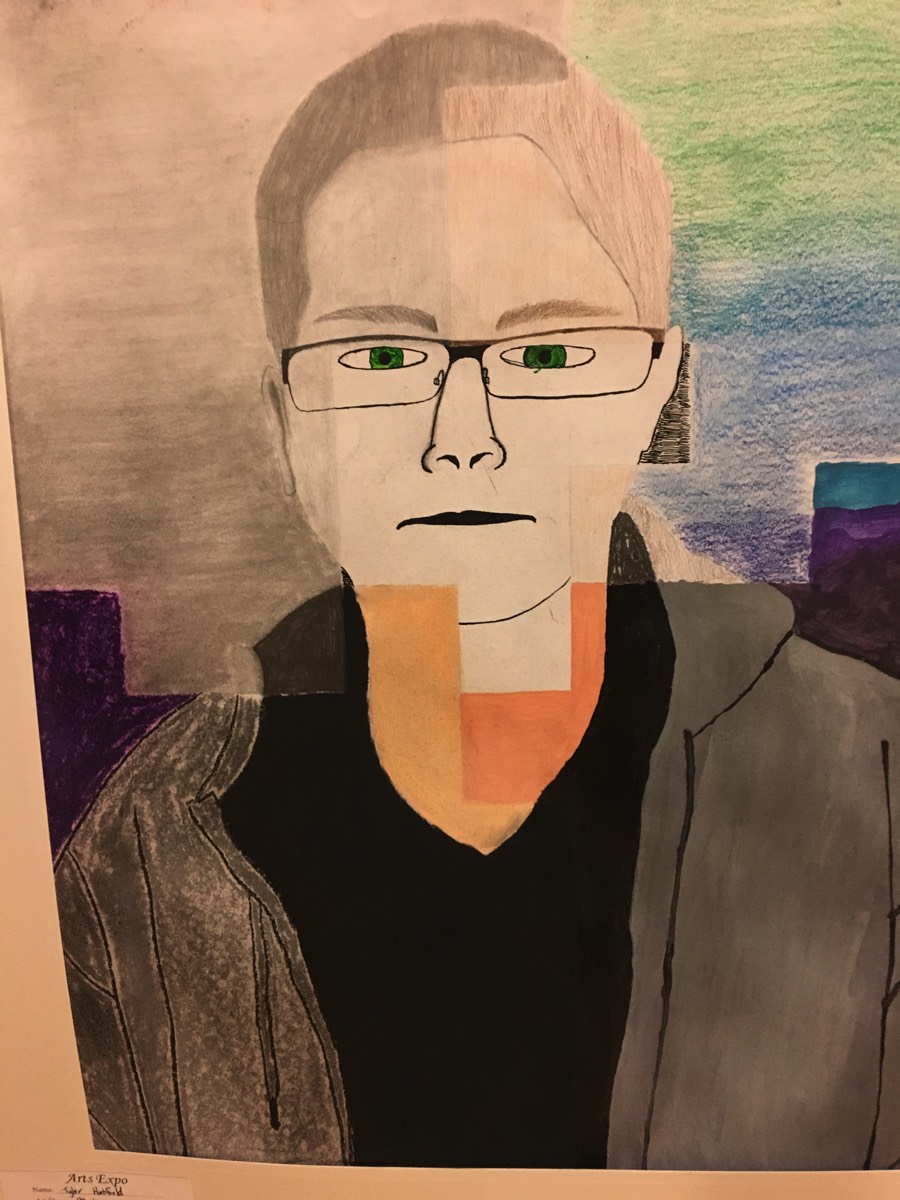
Project Demonstration

Examples


“Creativity takes courage.”
Cloverleaf Middle School
Follow Us
