Op Art Project

Stacks Image 49


Step by Step Guide


Stacks Image 53
Step 1: use a #2 Pencil to draw 5 or more vertical lines


Stacks Image 59
Step 2: draw a simple wave across the middle


Stacks Image 93
Step 3: use a thin sharpie and draw upward curves above the middle wave.

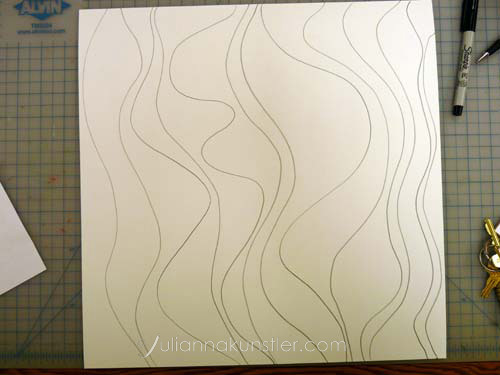
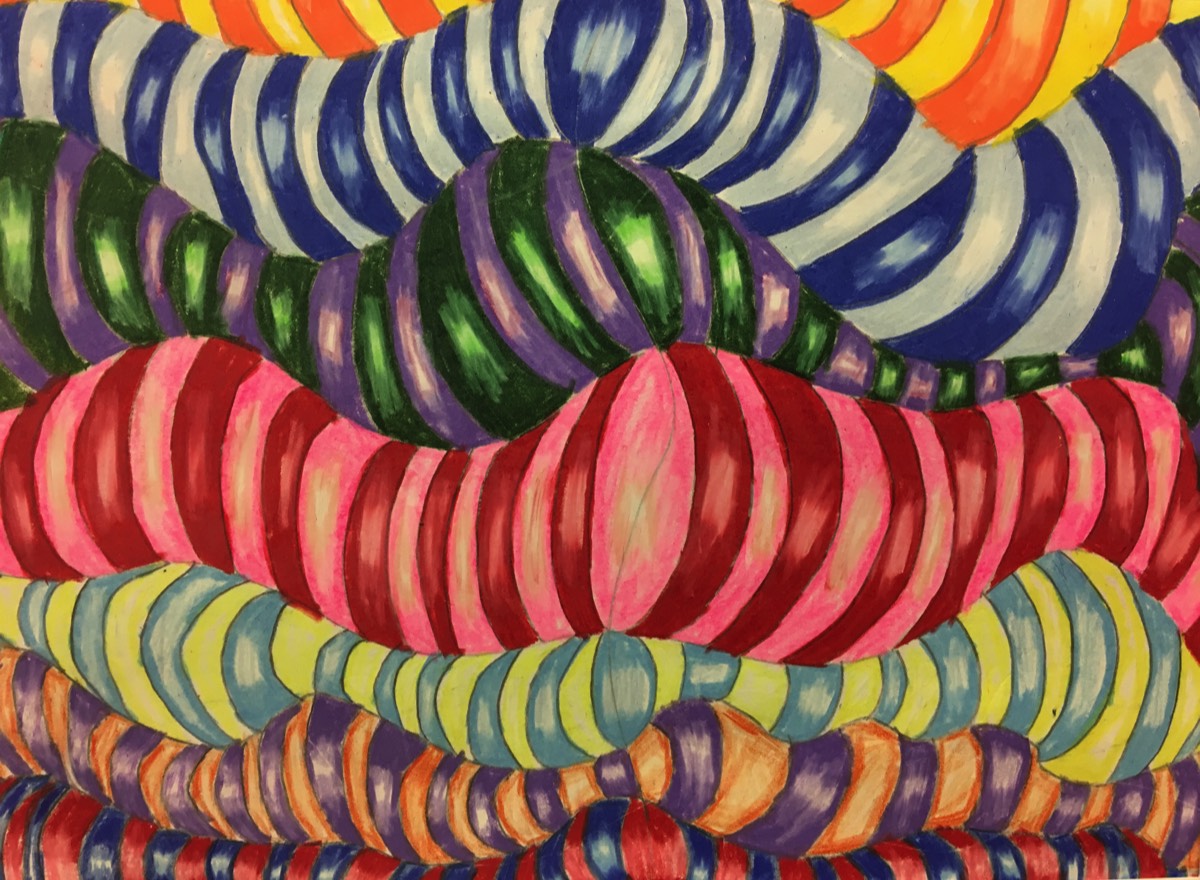
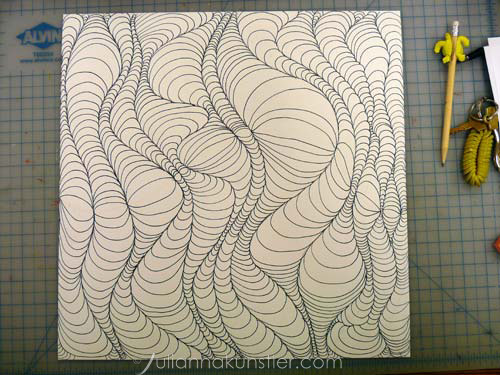
Then draw downward curves below the middle wave.

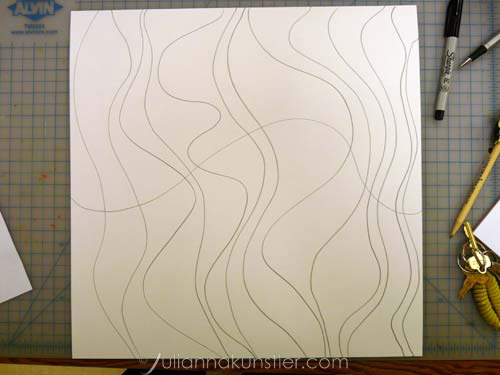
The next curves will start from the previous line and make sure to alter the distance between the curves.


Stacks Image 90
Step 4: complete the entire section


Stacks Image 87
Step 5: complete the entire design and make sure to erase the middle wave.


Stacks Image 84
Step 6: color each section gradating the color from dark to light to dark.


Stacks Image 81
Step 7: use analogous colors and apply the same gradation pattern


Stacks Image 78
Step 8: add another analogous color or repeat the first one.


Stacks Image 75
Step 9: use different colors for the next section.

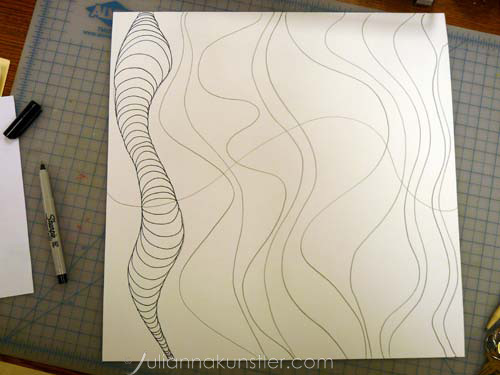
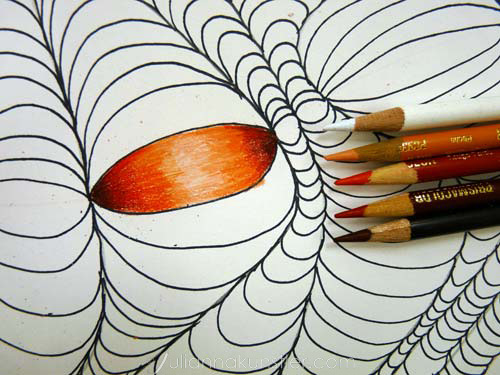
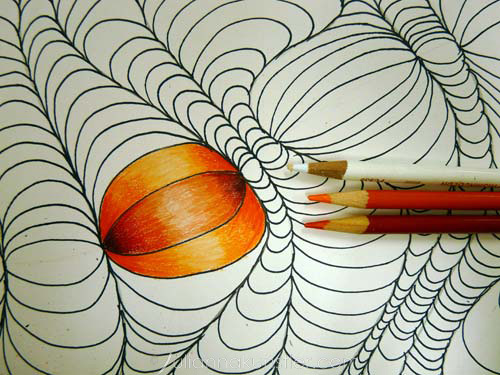
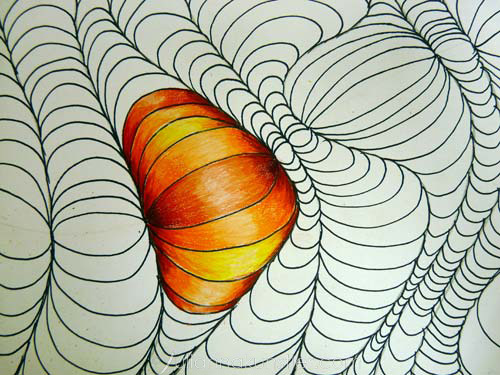
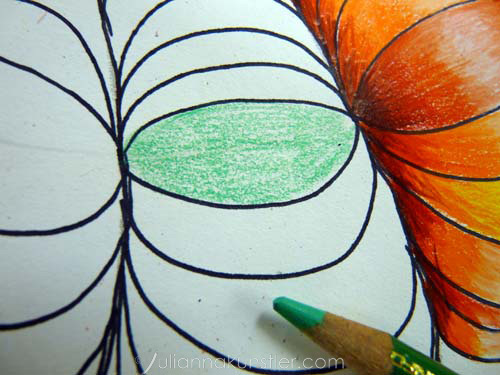
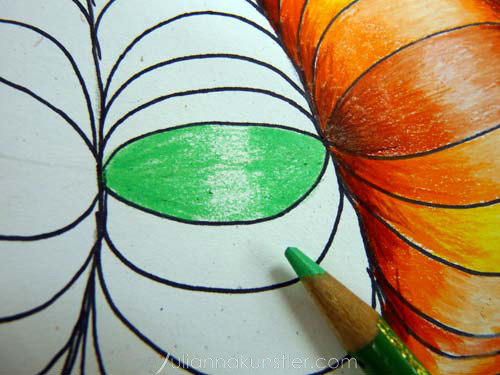
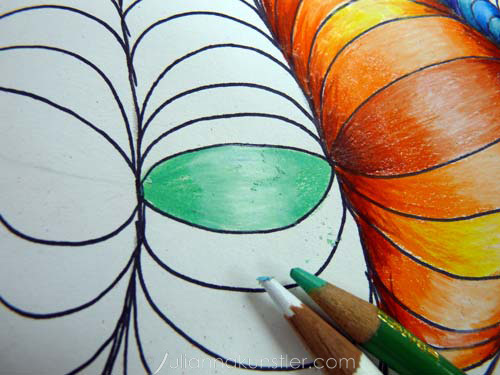
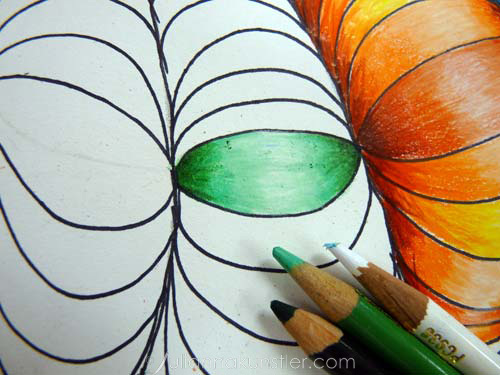
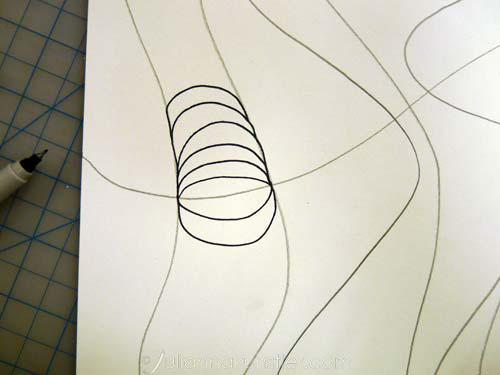
This is how you color in each individual section.

Shade lightly the entire shape with a color of your choice.


Stacks Image 72
Step 10: shade full strength by pressing harder, but make sure to leave the middle area untouched when doing this.


Stacks Image 69
Step 11: use white pencil to blend the middle part and add the appropriate highlight


Stacks Image 66
Step 12: use black or a darker color to blend the sides of each shape.